
HOT TOPICS


LATEST


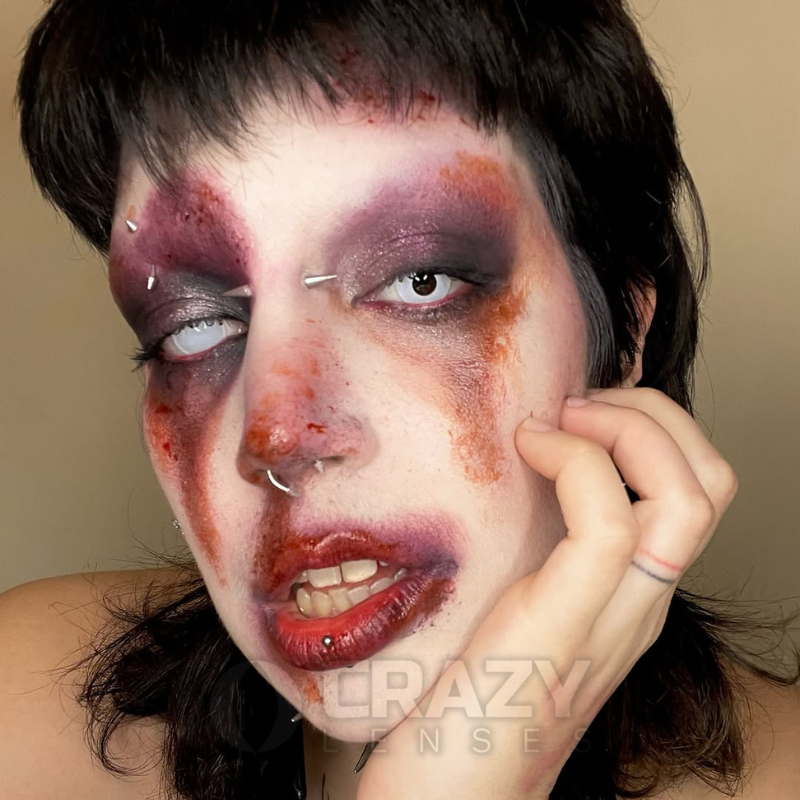
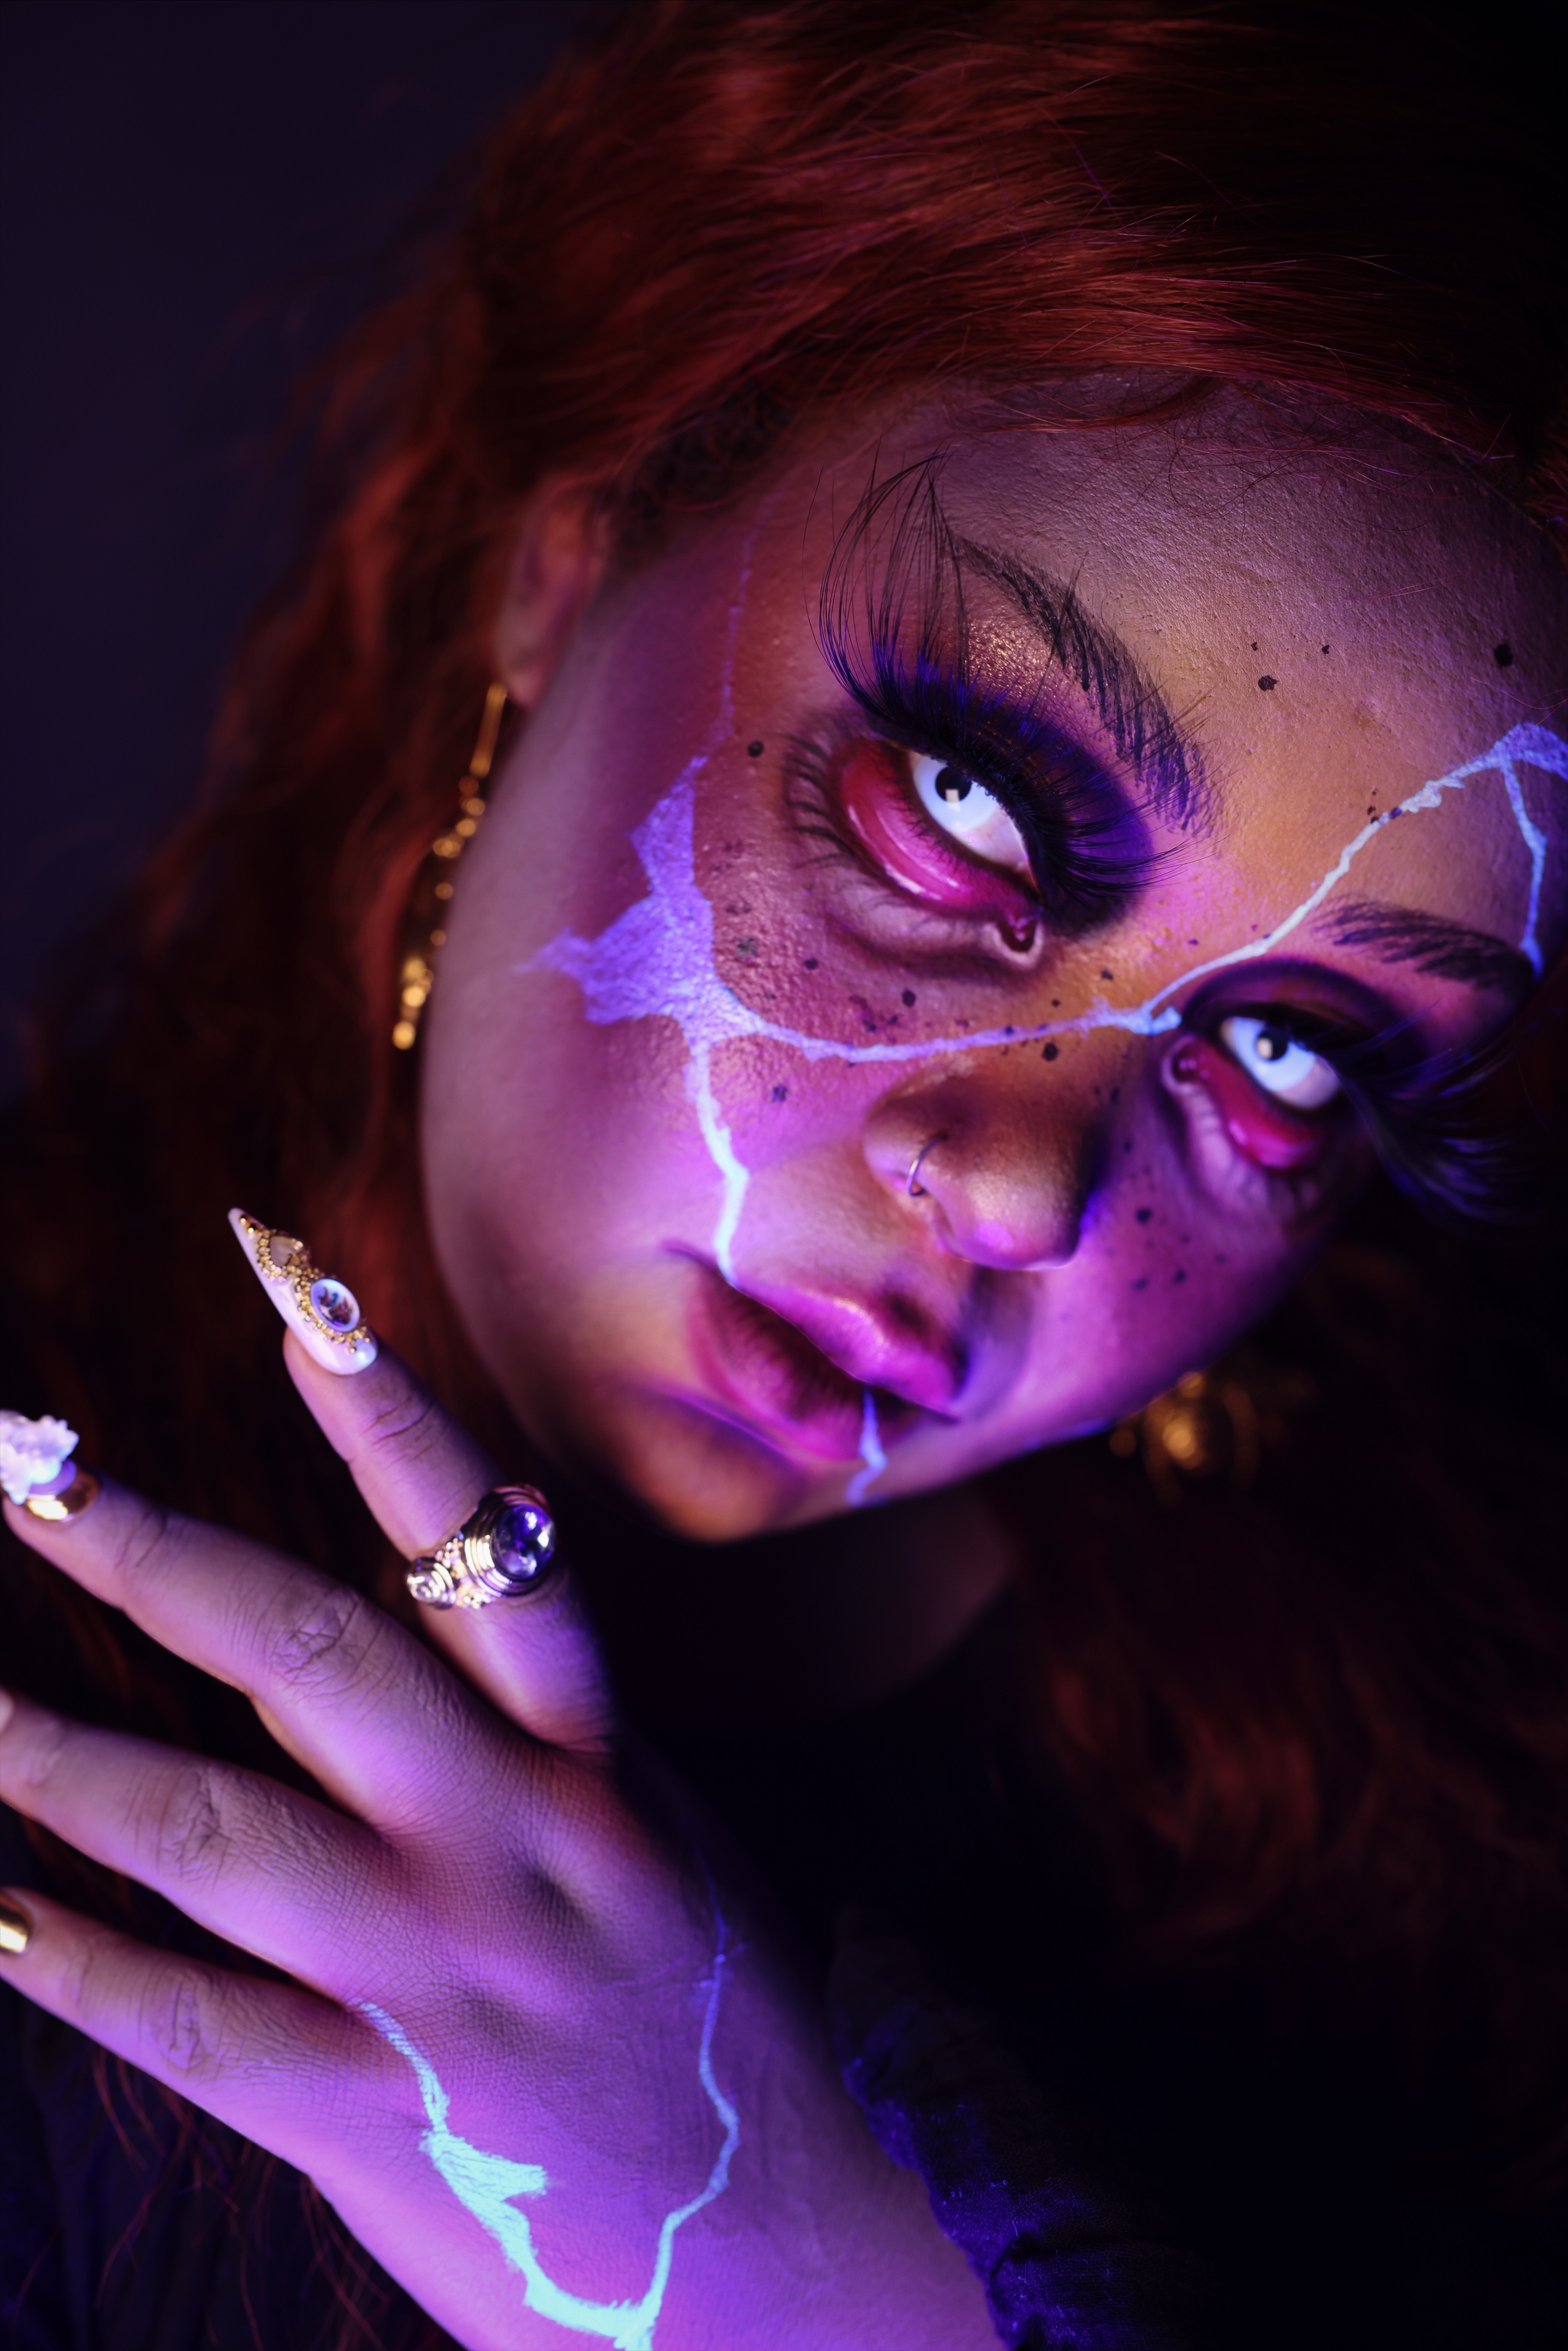
Spooky Doll Halloween Makeup Tutorial!
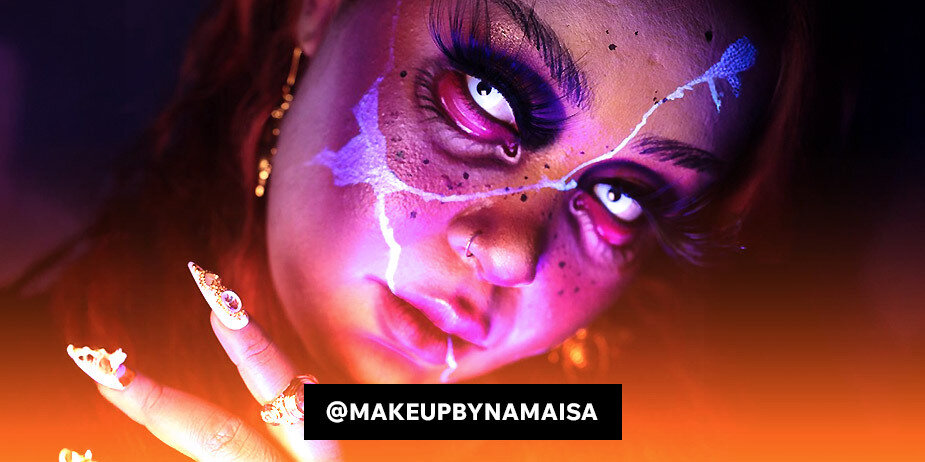
If you’re looking for a unique Halloween costume this year that will stand out at any party, why not try a spooky zombie doll makeup look? Follow along with @makeupbynamaisa’s tutorial to create the perfect broken doll makeup for Halloween.
Featured Images
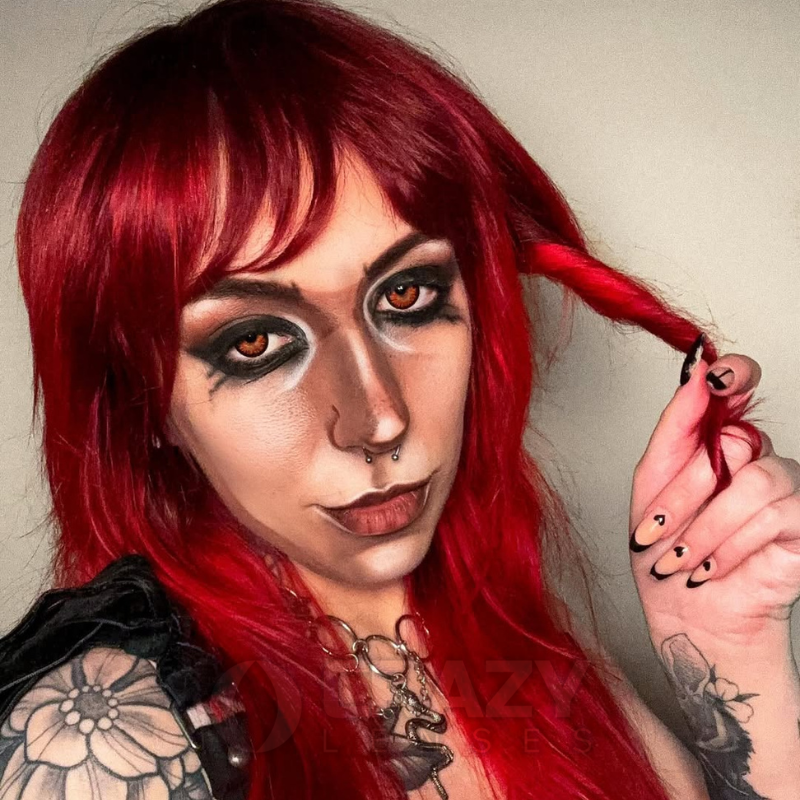
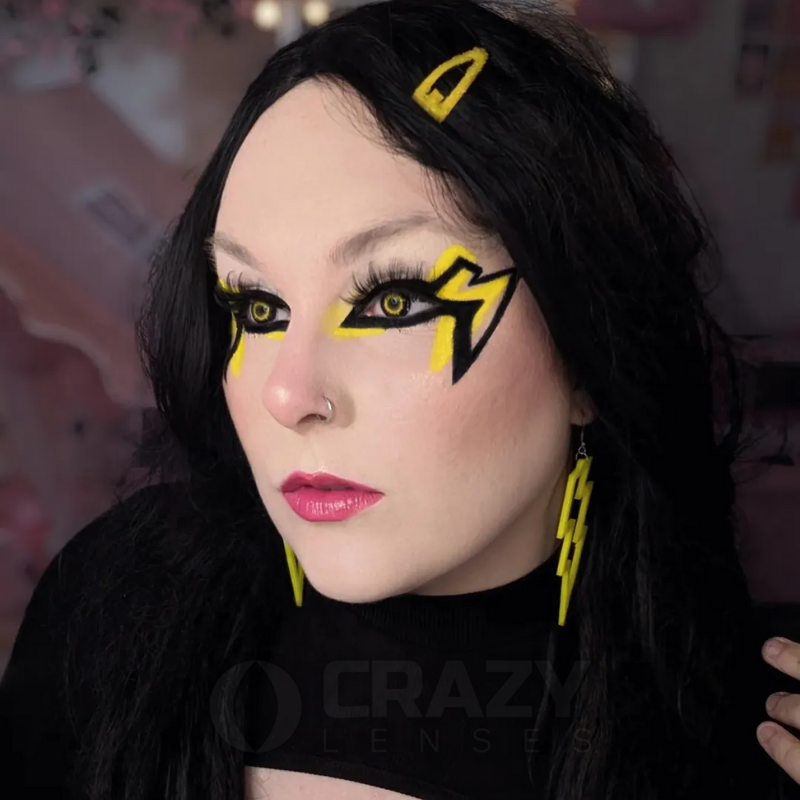
Manson Orange | @kaylyeeee
Manson Orange | @kaylyeeee
Products Used
Mini Sclera Black | @missabbiemeghan
Mini Sclera Black | @missabbiemeghan
Products Used

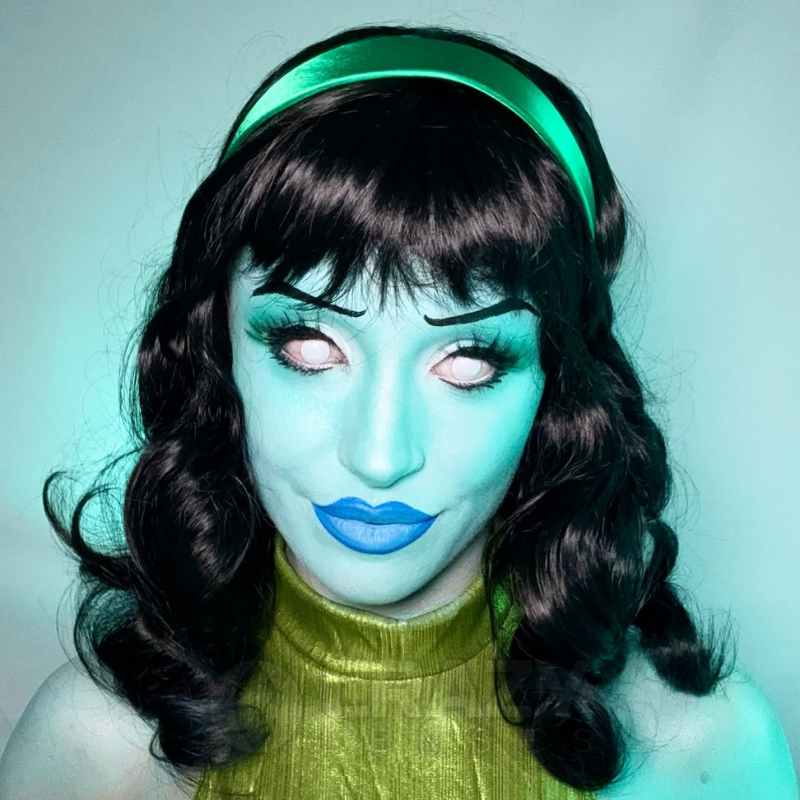
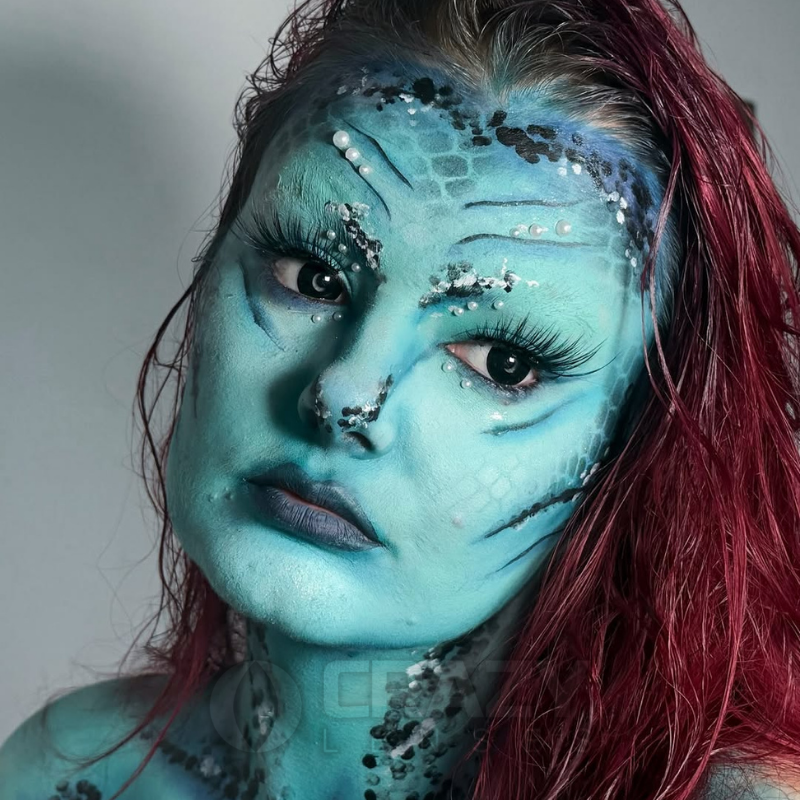
Celestial Blue | @makeupby_esc
Celestial Blue | @makeupby_esc
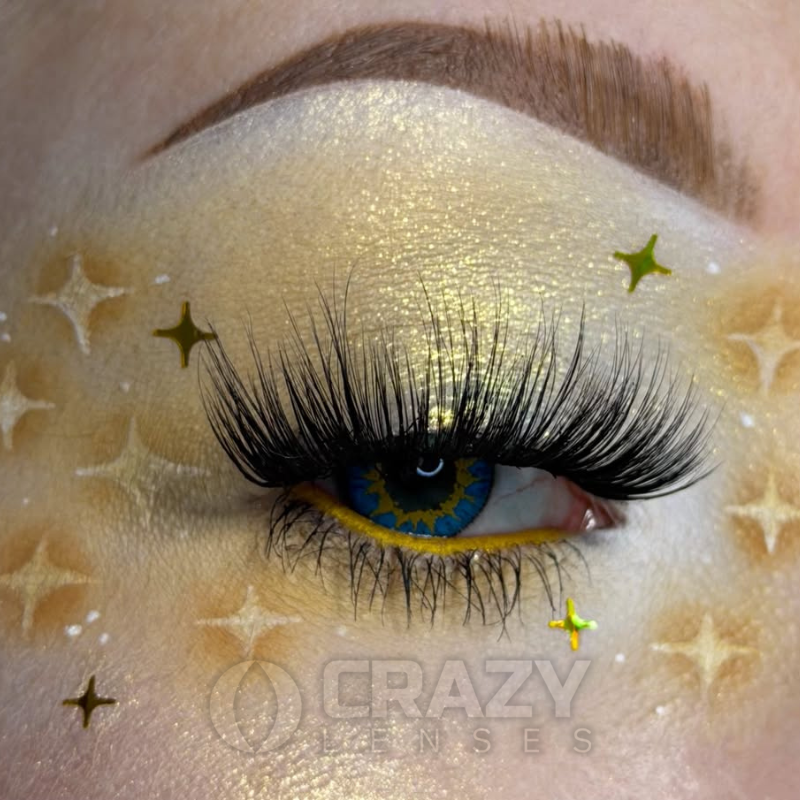
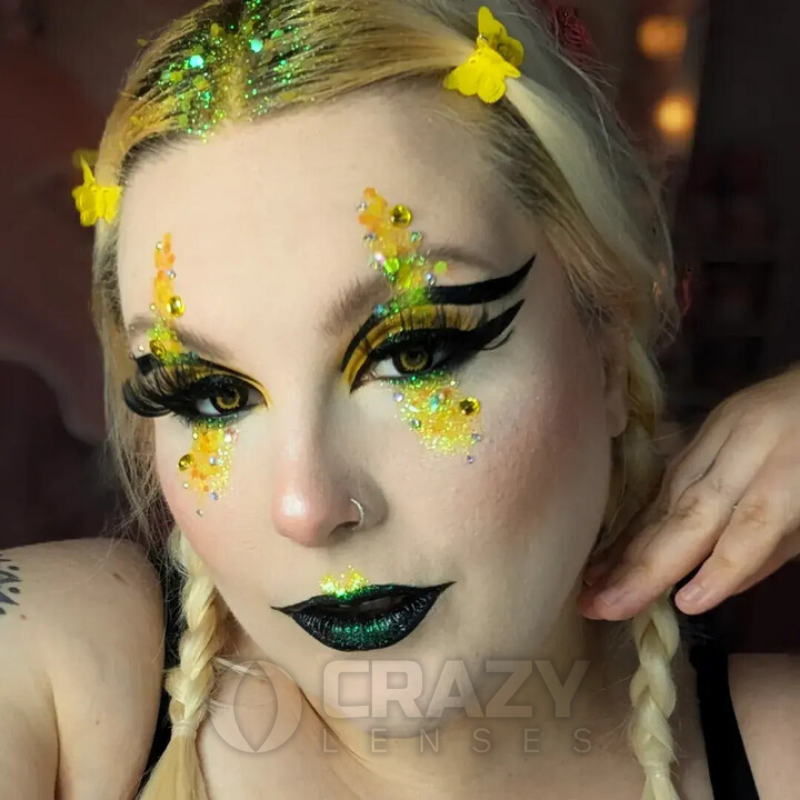
Yellow/Blue Fusion Lenses | @makeupbysummerkayleigh
Yellow/Blue Fusion Lenses | @makeupbysummerkayleigh
Products Used
Corpse White | @missabbiemeghan
Corpse White | @missabbiemeghan
Products Used

Blind White | @thatautisticmua
Blind White | @thatautisticmua
Products Used
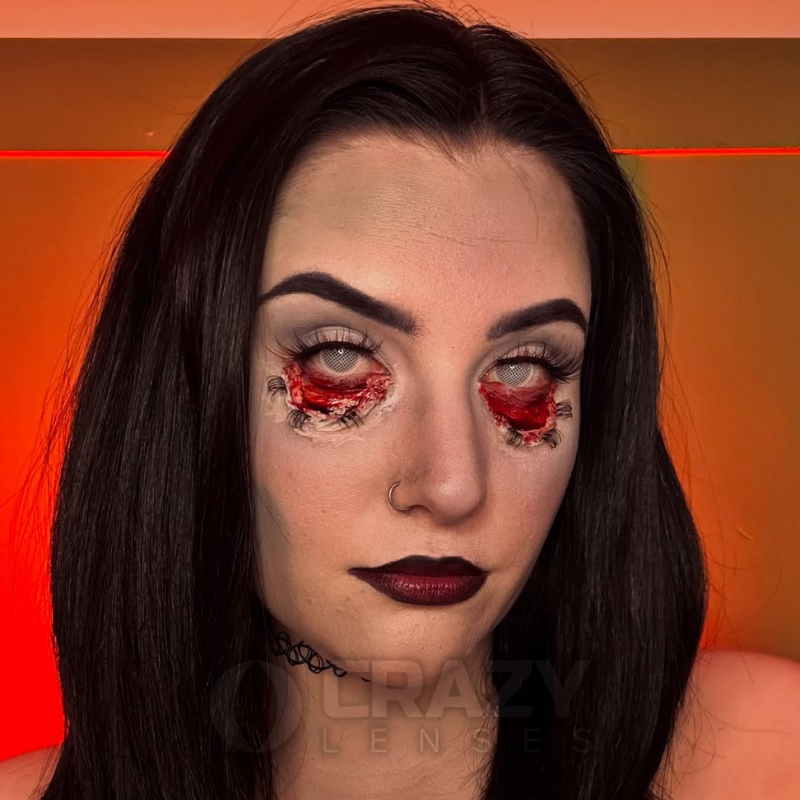
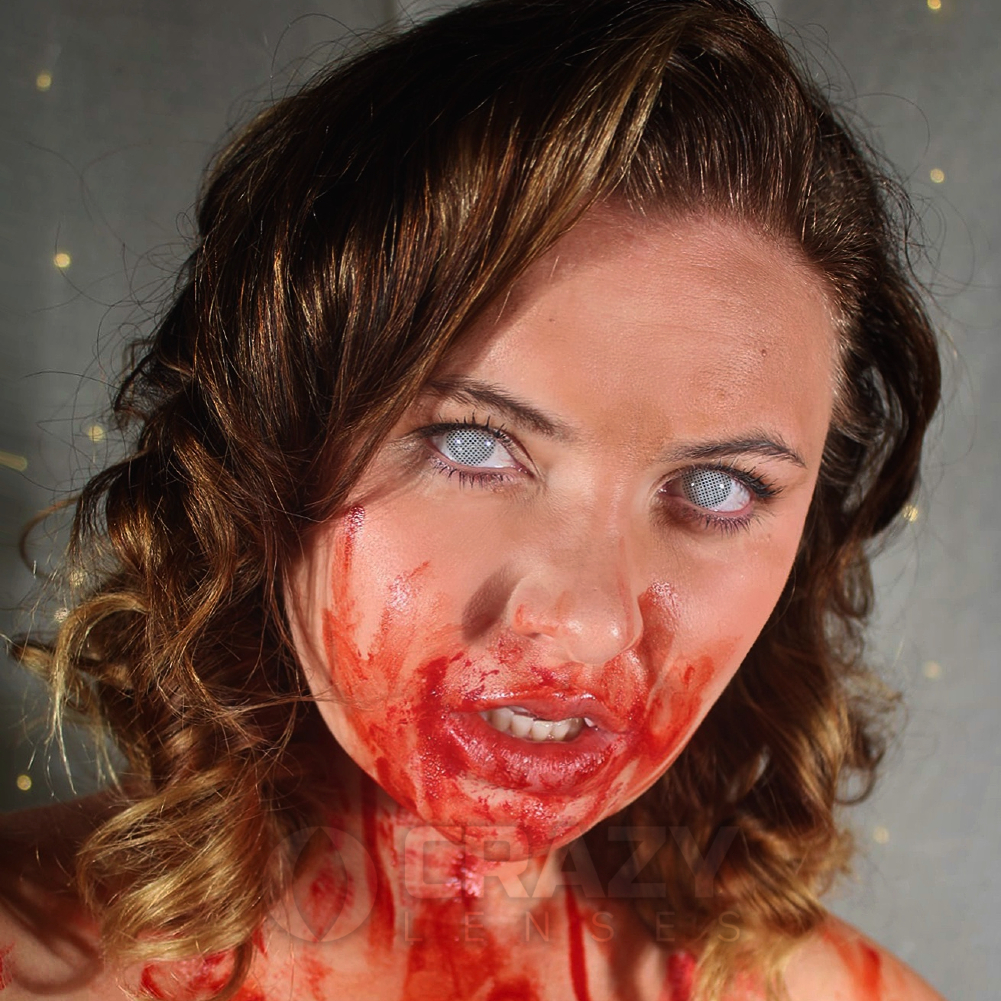
Mini Sclera Red | @makeupbynamaisa
Mini Sclera Red | @makeupbynamaisa
Products Used

Mini Sclera Black | @missabbiemeghan
Mini Sclera Black | @missabbiemeghan
Products Used

Mini Sclera Black | @missabbiemeghan
Mini Sclera Black | @missabbiemeghan
Products Used

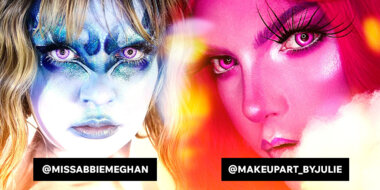
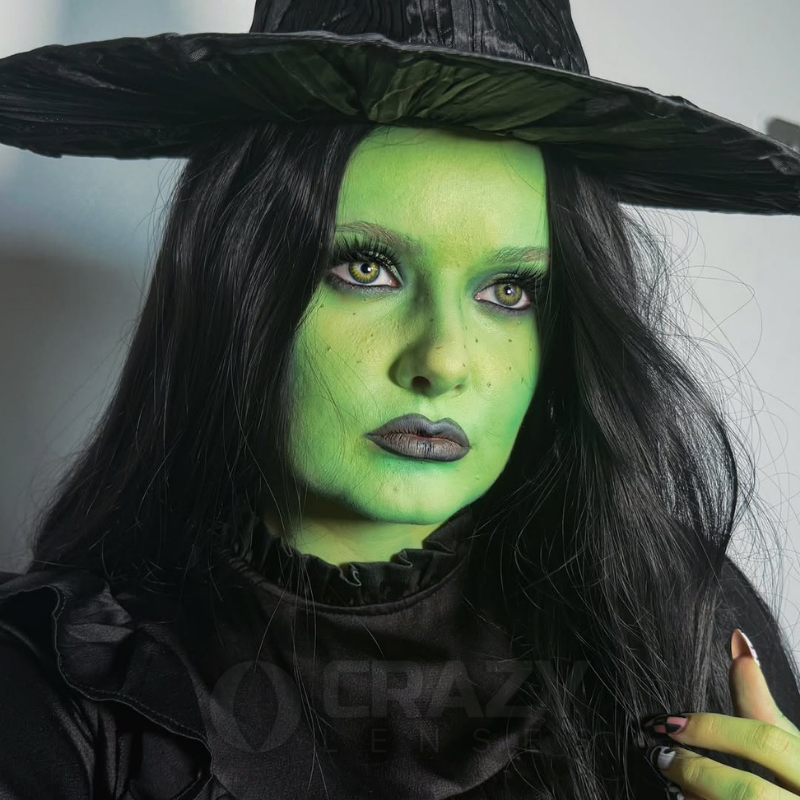
Peridot Green & Zombie White | @makeupart_byjulie
Peridot Green & Zombie White | @makeupart_byjulie
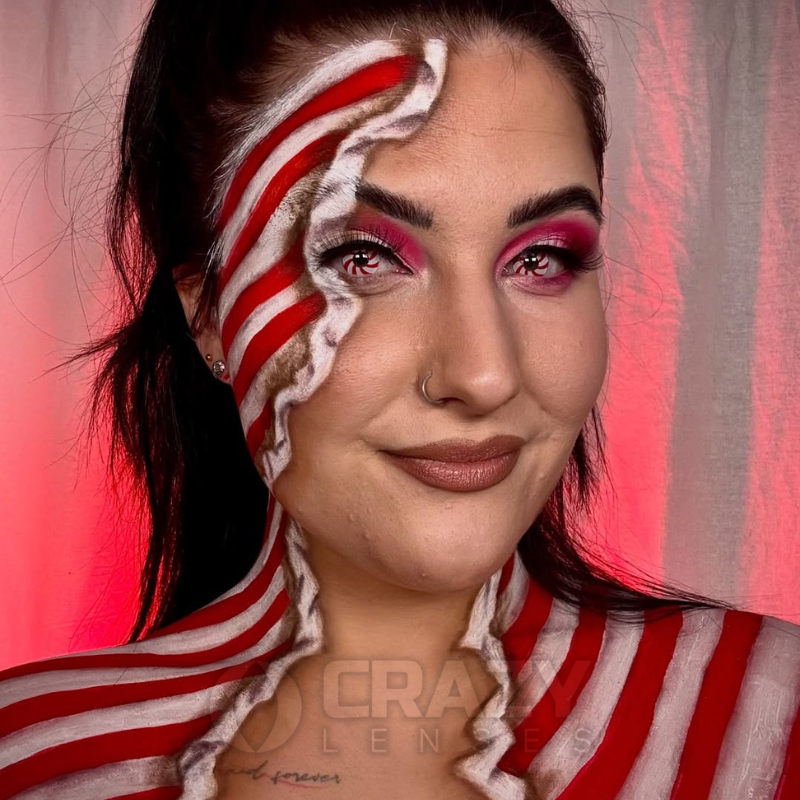
Candy Cane | @makeupby_esc
Candy Cane | @makeupby_esc
Products Used
Blend Hazel | @missabbiemeghan
Blend Hazel | @missabbiemeghan
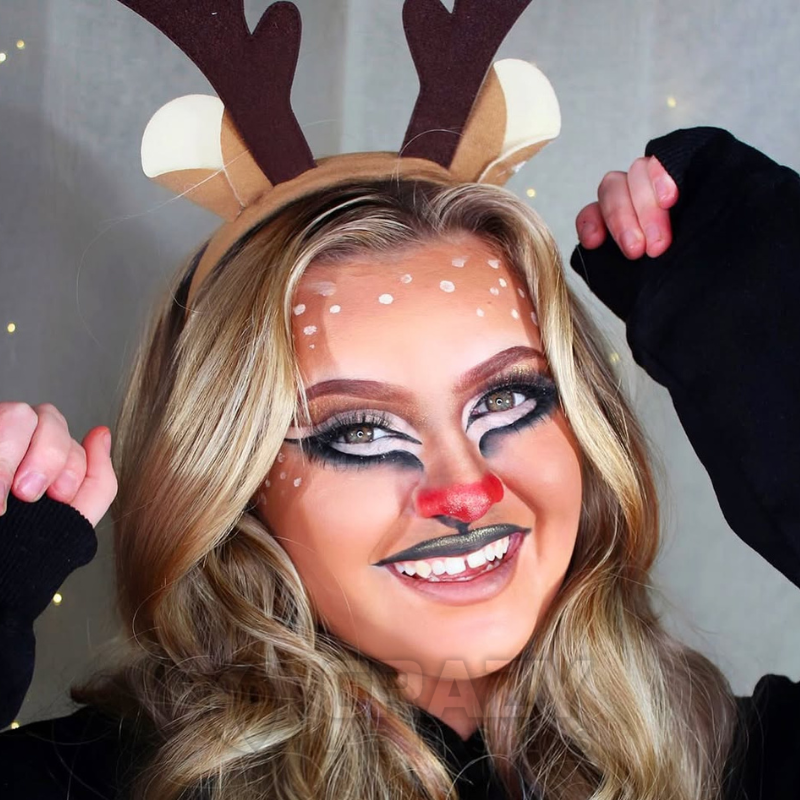
Twilight Star Orange | @kaylyeeee
Twilight Star Orange | @kaylyeeee
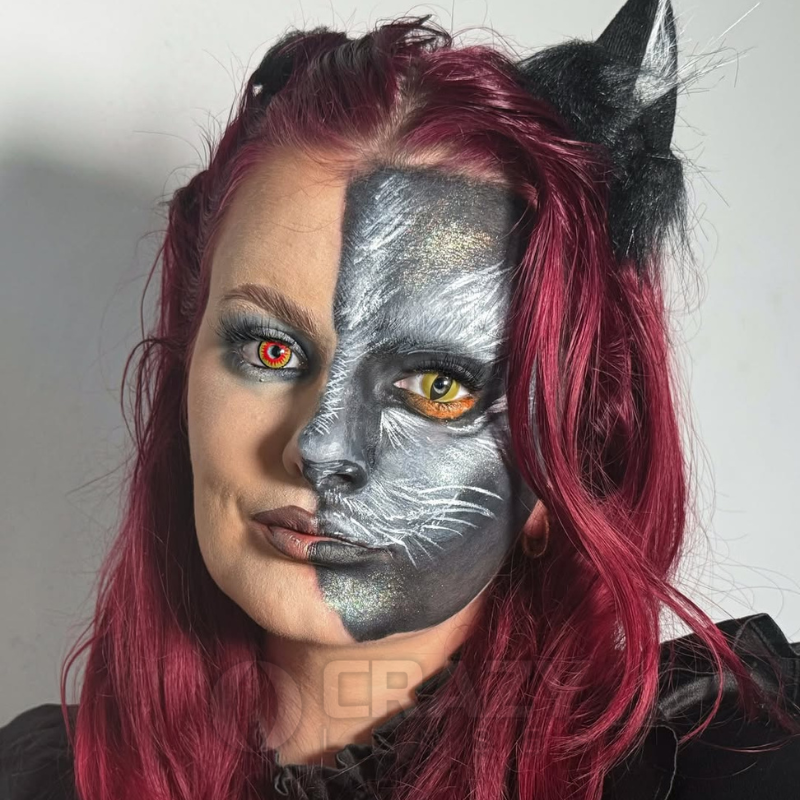
Cat's Eye Yellow & Gold Vampire | @emilymartistry
Cat's Eye Yellow & Gold Vampire | @emilymartistry
![Angelic Yellow [Avatar] | @kaylyeeee](https://static.crazylenses.com/prod/cache/sylius_shop_product_original/sylius/7a/47/67bb64c0fdd52dd11abb23b0ea7b.png)
Angelic Yellow [Avatar] | @kaylyeeee
Angelic Yellow [Avatar] | @kaylyeeee
Products Used
![Blackout Black [Frankenstein] | @kaylyeeee](https://static.crazylenses.com/prod/cache/sylius_shop_product_original/sylius/92/6a/d03733f382ace9caa77c73b6d8d2.png)
Blackout Black [Frankenstein] | @kaylyeeee
Blackout Black [Frankenstein] | @kaylyeeee

Blackout Black | @emilymartistry
Blackout Black | @emilymartistry

Vampire Zombie Red | @ohamarie
Vampire Zombie Red | @ohamarie
Products Used

Zombie White | @shannonhealymakeup
Zombie White | @shannonhealymakeup

Blind White | @emilymartistry
Blind White | @emilymartistry
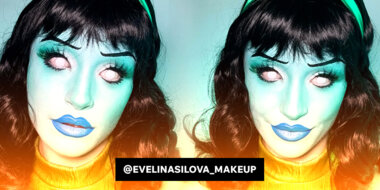
Blind White | @evelinasilova_makeup
Blind White | @evelinasilova_makeup
![Mini Sclera Red [Silence of the Lambs] | @makeupby_esc](https://static.crazylenses.com/prod/cache/sylius_shop_product_original/sylius/b2/5a/a02f396c95027c16493d137355ec.png)
Mini Sclera Red [Silence of the Lambs] | @makeupby_esc
Mini Sclera Red [Silence of the Lambs] | @makeupby_esc
![Mini Sclera Red [Ronald McDonald] | @missabbiemeghan](https://static.crazylenses.com/prod/cache/sylius_shop_product_original/sylius/72/09/1470e3e654e7756c458bb4e66c7e.png)
Mini Sclera Red [Ronald McDonald] | @missabbiemeghan
Mini Sclera Red [Ronald McDonald] | @missabbiemeghan
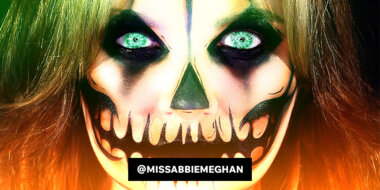
![Zombie White [Jack Skellington] | @emilymartistry](https://static.crazylenses.com/prod/cache/sylius_shop_product_original/sylius/01/82/ffd57c3ef0876a09ac729de01493.png)
Zombie White [Jack Skellington] | @emilymartistry
Zombie White [Jack Skellington] | @emilymartistry

Blind White | @evelinasilova_makeup
Blind White | @evelinasilova_makeup

Zombie White | @makeupby_esc
Zombie White | @makeupby_esc

Zombie White | @emilymartistry
Zombie White | @emilymartistry

I Glow White Mesh UV & Zombie White | @makeupby_esc
I Glow White Mesh UV & Zombie White | @makeupby_esc

I Glow White Mesh UV & Zombie White | @makeupby_esc
I Glow White Mesh UV & Zombie White | @makeupby_esc
I Glow White Mesh UV | @makeupby_esc
I Glow White Mesh UV | @makeupby_esc
Products Used

Blackout Black & Blind White | @evelinasilova_makeup
Blackout Black & Blind White | @evelinasilova_makeup

Ice Walker Blue & Enchanted Funky Pink | @missabbiemeghan
Ice Walker Blue & Enchanted Funky Pink | @missabbiemeghan

Zombie White | @makeupby_esc
Zombie White | @makeupby_esc

UV I-Glow Cosplay Green | @jadeefrano
UV I-Glow Cosplay Green | @jadeefrano
Products Used

Zombie White | @missabbiemeghan
Zombie White | @missabbiemeghan

Mini Sclera Black | @makeupby_esc
Mini Sclera Black | @makeupby_esc
Mini Sclera Black | @emilymartistry
Mini Sclera Black | @emilymartistry
Products Used

Smiley & Zombie White | @makeupby_esc
Smiley & Zombie White | @makeupby_esc

Smiley & Zombie White | @makeupby_esc
Smiley & Zombie White | @makeupby_esc
Zombie White | @missabbiemeghan
Zombie White | @missabbiemeghan

Blind White | @jadeefrano
Blind White | @jadeefrano

Mesh White & Blackout Black | @missabbiemeghan
Mesh White & Blackout Black | @missabbiemeghan

Zombie White | @kierahclarke
Zombie White | @kierahclarke

I Glow White Mesh UV | @makeupby_esc
I Glow White Mesh UV | @makeupby_esc
Products Used
Jade Green | @emilymartistry
Jade Green | @emilymartistry

Mini Sclera Red | @makeupby_esc
Mini Sclera Red | @makeupby_esc

Zombie White | @makeupby_esc
Zombie White | @makeupby_esc

Mini Sclera Red & Zombie White | @makeupby_esc
Mini Sclera Red & Zombie White | @makeupby_esc

Blind White | @evelinasilova_makeup
Blind White | @evelinasilova_makeup

Manson White | @makeupart_byjulie
Manson White | @makeupart_byjulie

Blind White | @missabbiemeghan
Blind White | @missabbiemeghan
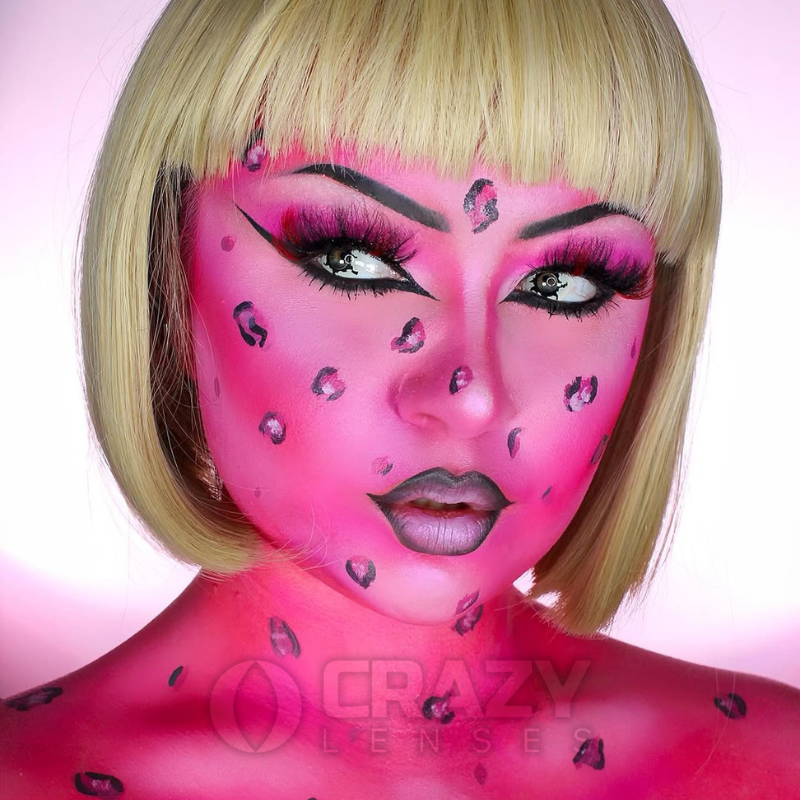
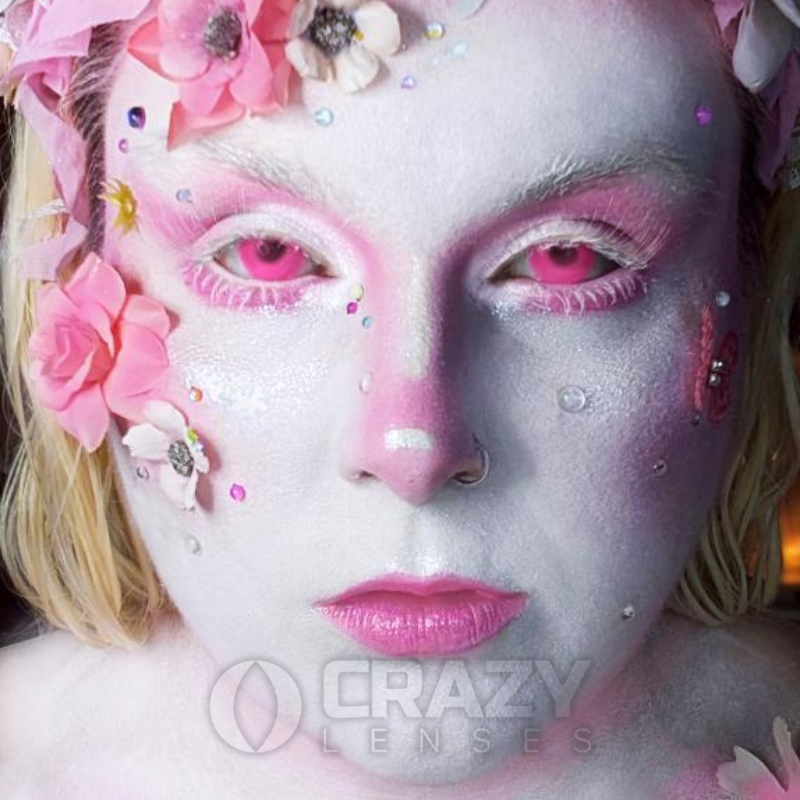
Enchanted Funky Pink | @parisdoneart
Enchanted Funky Pink | @parisdoneart

Blind White | @missabbiemeghan
Blind White | @missabbiemeghan
![Mystic Blue [Sarah Sanderson] | @saratigo](https://static.crazylenses.com/prod/cache/sylius_shop_product_original/sylius/ab/b0/e2c40eaa5f1248241b1877779ee1.png)
Mystic Blue [Sarah Sanderson] | @saratigo
Mystic Blue [Sarah Sanderson] | @saratigo
Products Used
![Blackout Black [Mary Sanderson] | @saratigo](https://static.crazylenses.com/prod/cache/sylius_shop_product_original/sylius/04/0b/fd5f717811adadd8687f121d04ee.png)
Blackout Black [Mary Sanderson] | @saratigo
Blackout Black [Mary Sanderson] | @saratigo
![Twilight Volturi Red [Winnie Sanderson] | @saratigo](https://static.crazylenses.com/prod/cache/sylius_shop_product_original/sylius/f3/a7/9bd6446389b012ad36e87af36b53.png)
Twilight Volturi Red [Winnie Sanderson] | @saratigo
Twilight Volturi Red [Winnie Sanderson] | @saratigo

Mini Sclera Black | @emilymartistry
Mini Sclera Black | @emilymartistry
Products Used

Zombie White | @makeupby_esc
Zombie White | @makeupby_esc

Blind White | @evelinasilova_makeup
Blind White | @evelinasilova_makeup

Rinne Rings White | @missabbiemeghan
Rinne Rings White | @missabbiemeghan
Products Used

Cosplay Yellow | @kierahclarke
Cosplay Yellow | @kierahclarke
Products Used

Volturi Vampire Red & Zombie White | @kierahclarke
Volturi Vampire Red & Zombie White | @kierahclarke

Mini Sclera White | @destinysfx
Mini Sclera White | @destinysfx

Mini Sclera Black | @emilymartistry
Mini Sclera Black | @emilymartistry
Products Used

Volturi Vampire Red | @makeupby_esc
Volturi Vampire Red | @makeupby_esc
Products Used

Zombie White | @makeupart_byjulie
Zombie White | @makeupart_byjulie
Angelic Green | @missabbiemeghan
Angelic Green | @missabbiemeghan
Products Used

Royal Blue | @kierahclarke
Royal Blue | @kierahclarke
Products Used

Blind White | @jadeefrano
Blind White | @jadeefrano

White Mesh UV | @thatautisticmua
White Mesh UV | @thatautisticmua
Products Used
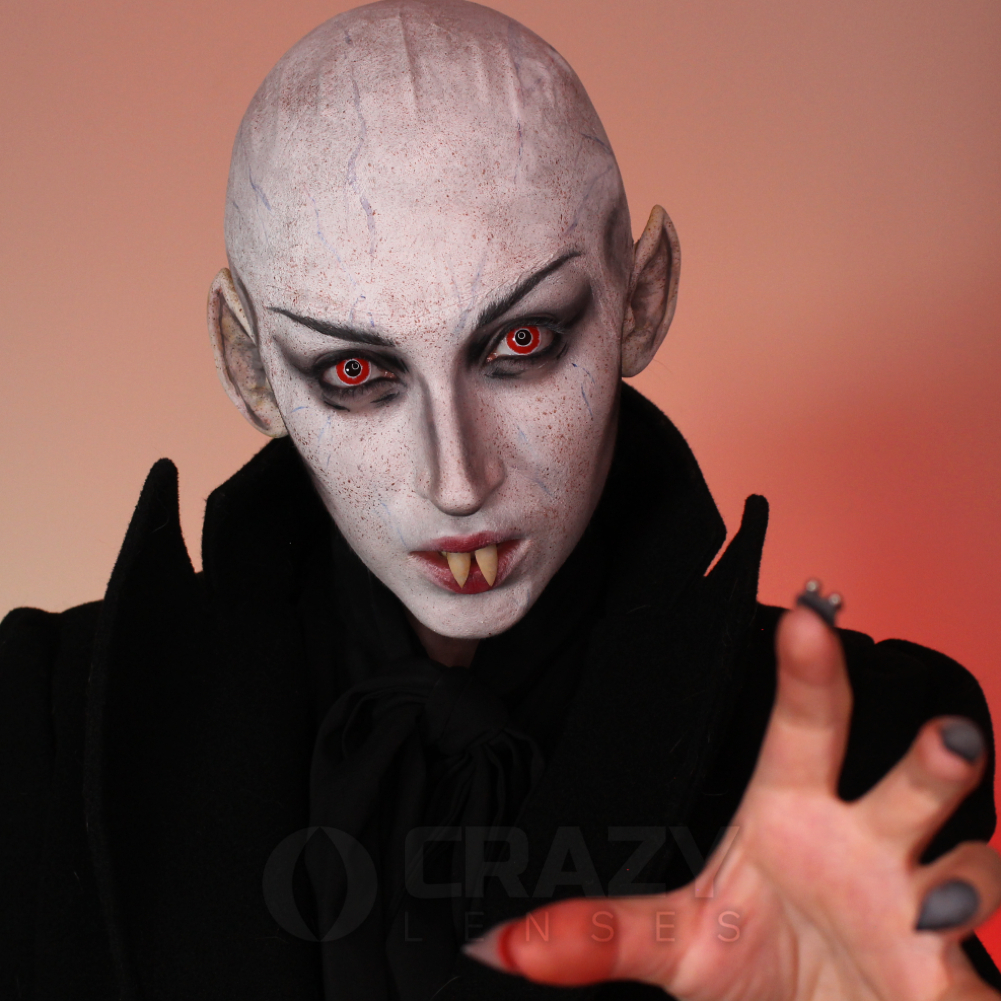
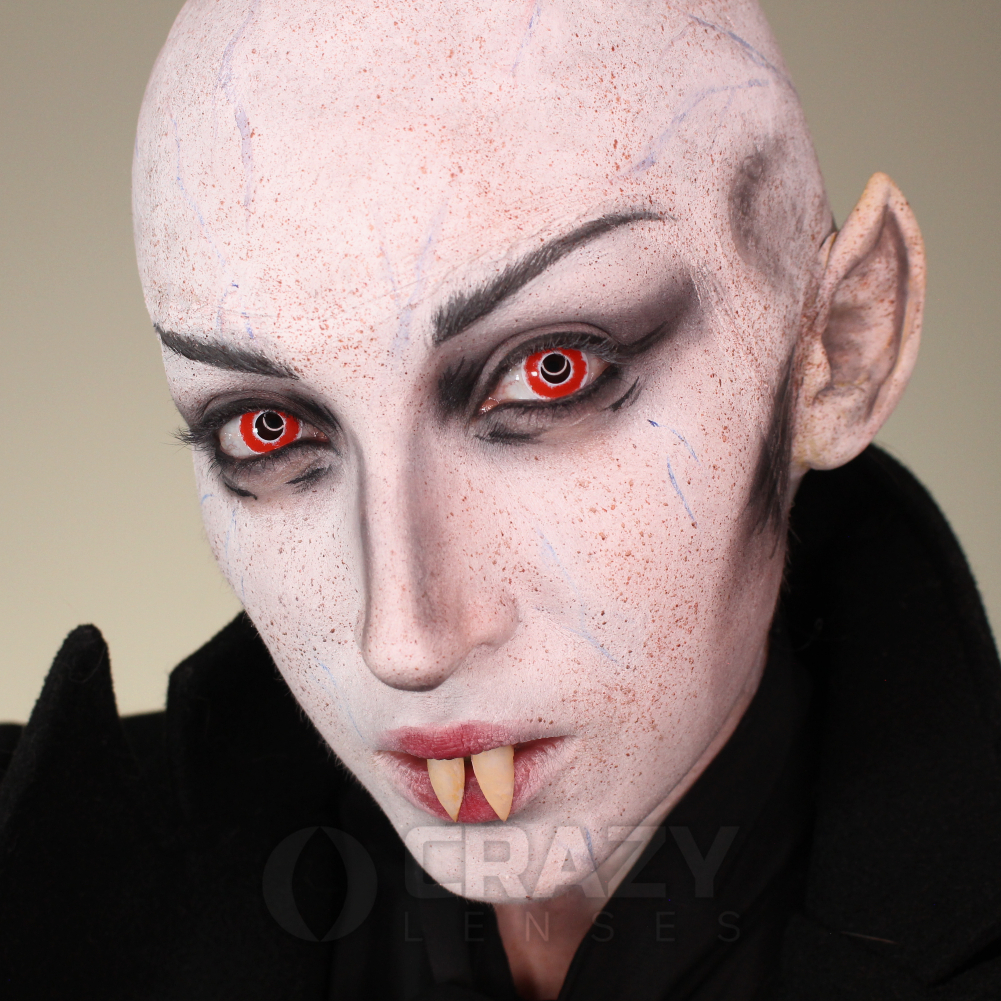
Red Monster (Nosferatu) | @LadyParadoxx
Red Monster (Nosferatu) | @LadyParadoxx
Products Used
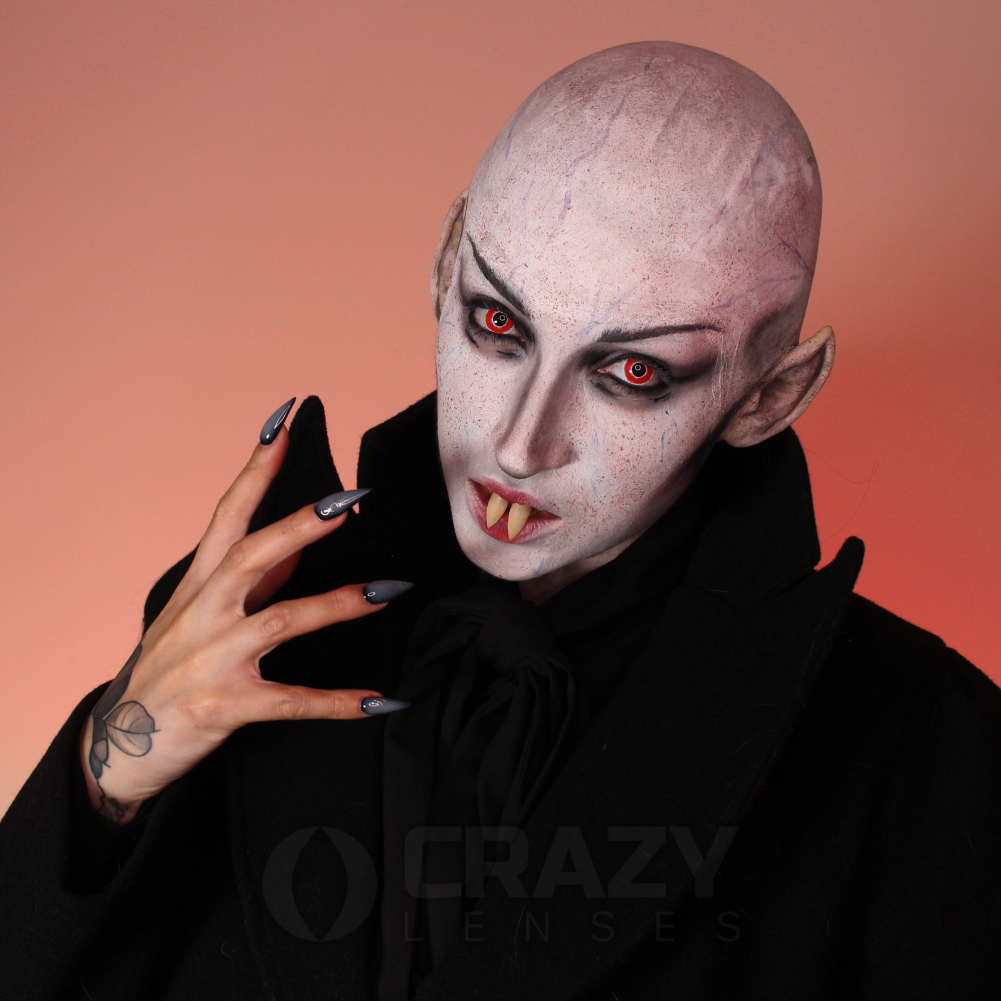
Red Monster (Nosferatu) | @LadyParadoxx
Red Monster (Nosferatu) | @LadyParadoxx
Products Used
Red Monster (Nosferatu) | @LadyParadoxx
Red Monster (Nosferatu) | @LadyParadoxx
Products Used
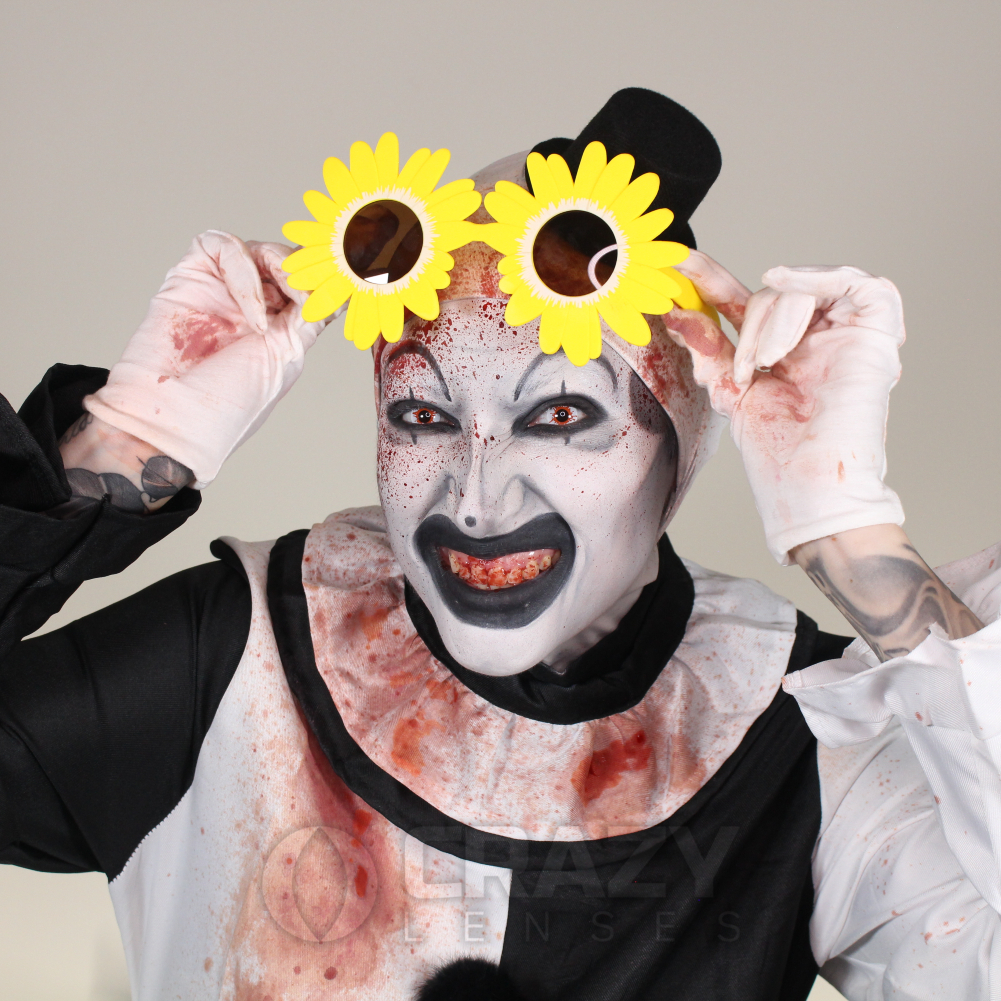
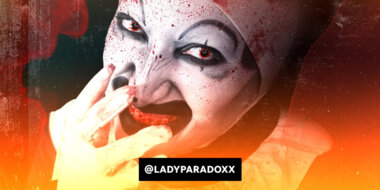
White Blood Splat (Art the Clown) | @LadyParadoxx
White Blood Splat (Art the Clown) | @LadyParadoxx
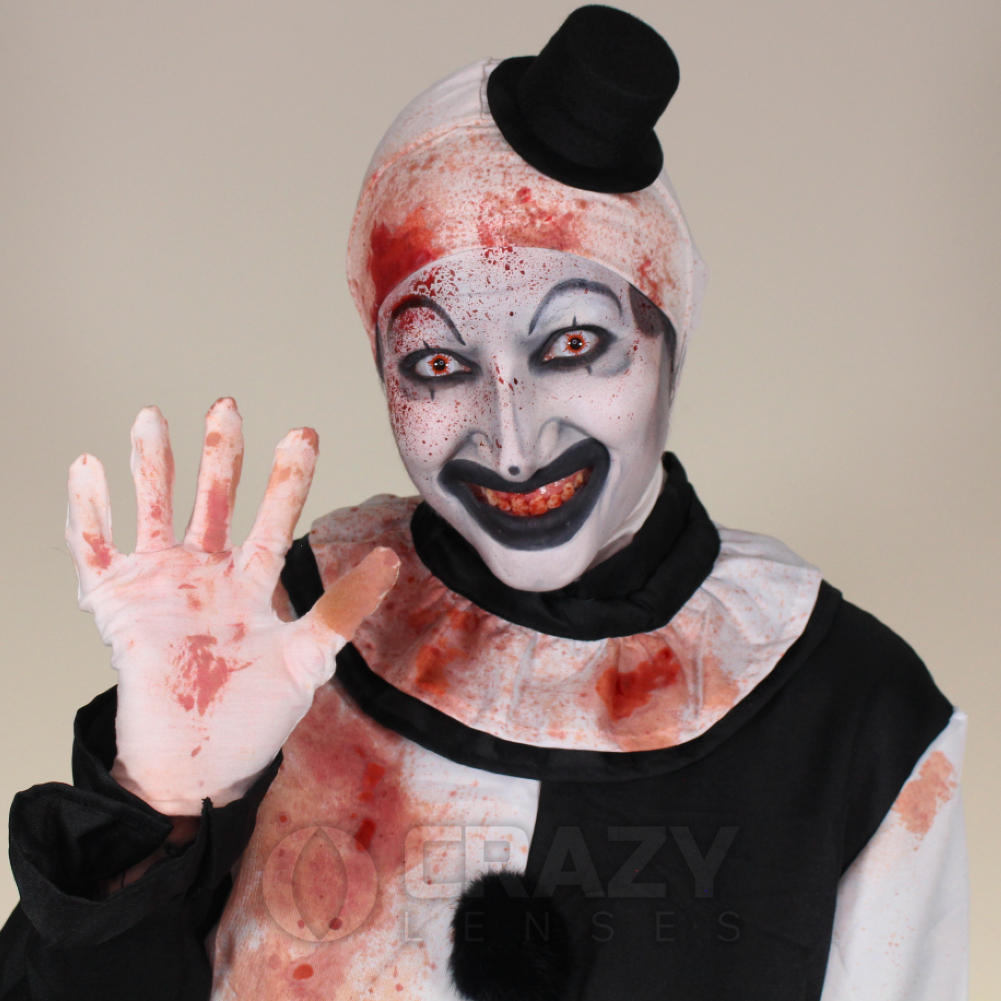
White Blood Splat (Art the Clown) | @LadyParadoxx
White Blood Splat (Art the Clown) | @LadyParadoxx
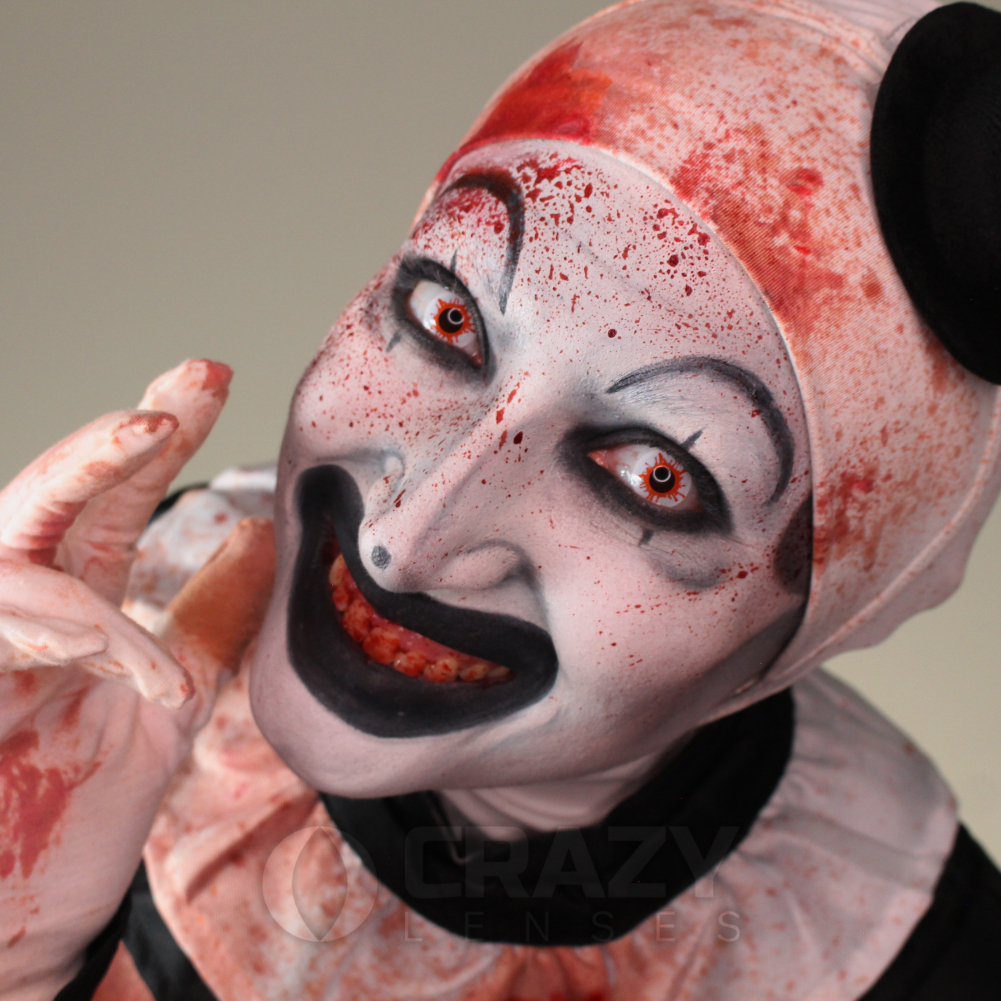
White Blood Splat (Art the Clown) | @LadyParadoxx
White Blood Splat (Art the Clown) | @LadyParadoxx

White Mesh | @MissAbbieMeghan
White Mesh | @MissAbbieMeghan

White Mesh | @MissAbbieMeghan
White Mesh | @MissAbbieMeghan
White Mesh | @MissAbbieMeghan
White Mesh | @MissAbbieMeghan
Products Used
Green Angelic | @MissAbbieMeghan
Green Angelic | @MissAbbieMeghan
Products Used
Green Cosplay UV | @MissAbbieMeghan
Green Cosplay UV | @MissAbbieMeghan
Products Used
Green Cosplay UV | @MissAbbieMeghan
Green Cosplay UV | @MissAbbieMeghan
Products Used
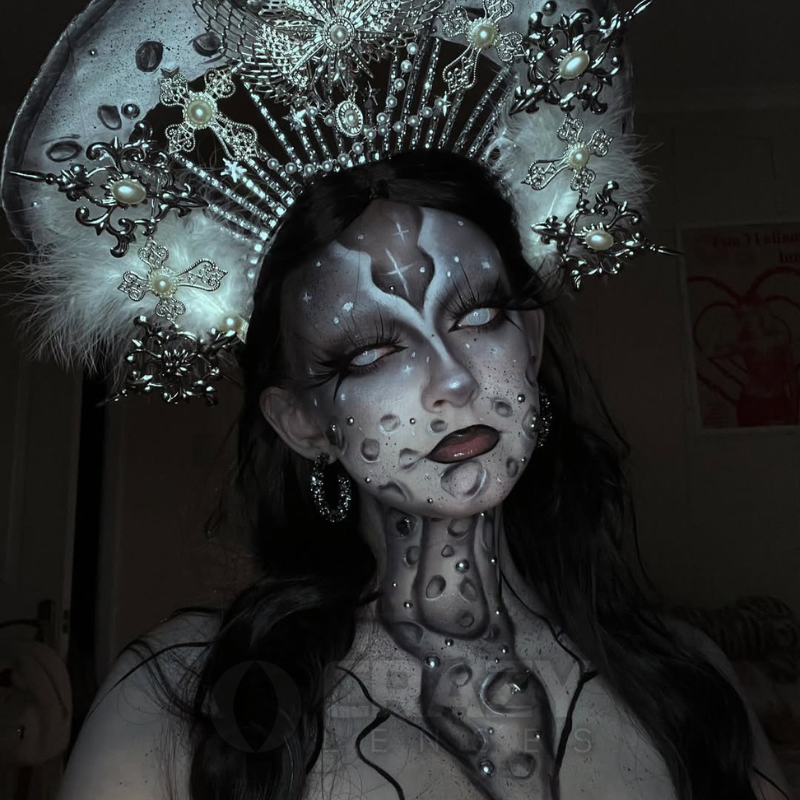
Galaxy Grey | @parisdoneart
Galaxy Grey | @parisdoneart
Products Used

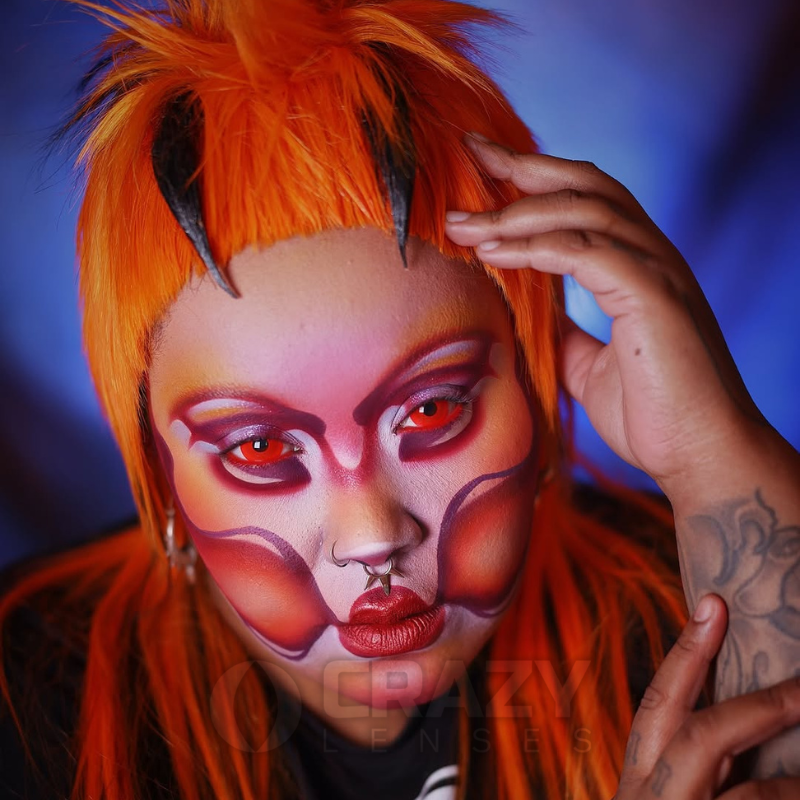
Anime Ninja Eye Red | @smuvee._
Anime Ninja Eye Red | @smuvee._
Products Used

Mini Sclera Black | @jadeefrano
Mini Sclera Black | @jadeefrano

Hell Fire | @makeupbyshae
Hell Fire | @makeupbyshae
Products Used

Hells Flame | @sandyglammua
Hells Flame | @sandyglammua
Products Used
Goblin Mini Sclera Green | @sandyglammua
Goblin Mini Sclera Green | @sandyglammua
Products Used
Silver Mirror | @juliaredmakeup
Silver Mirror | @juliaredmakeup
Silver Mirror | @juliaredmakeup
Silver Mirror | @juliaredmakeup

Blind White | @sandyglammua
Blind White | @sandyglammua
Wolf | @sandyglammua
Wolf | @sandyglammua
Products Used

Hellraiser Demon Black | @sandyglammua
Hellraiser Demon Black | @sandyglammua
Wolf | @sandyglammua
Wolf | @sandyglammua
Products Used

Mini Sclera Red | @sparklywinona
Mini Sclera Red | @sparklywinona
UV Pink | @sandyglammua
UV Pink | @sandyglammua
![Hulk Green [She-hulk] | @makeupby_esc](https://static.crazylenses.com/prod/cache/sylius_shop_product_original/sylius/47/2b/dcc3e96b254c17a955423064782c.png)
Hulk Green [She-hulk] | @makeupby_esc
Hulk Green [She-hulk] | @makeupby_esc

Cosplay Pink & Super Sky Blue | @seraphinevanhelsing
Cosplay Pink & Super Sky Blue | @seraphinevanhelsing
Mesh White | @thatautisticmua
Mesh White | @thatautisticmua

Hulk Green | @makeupbynamaisa
Hulk Green | @makeupbynamaisa

Flame Eyes | @makeupby_esc
Flame Eyes | @makeupby_esc
Products Used

Flame Eyes | @makeupby_esc
Flame Eyes | @makeupby_esc
Products Used

Phantom White | @seraphinevanhelsing
Phantom White | @seraphinevanhelsing
Products Used

Goblin Mini Sclera Green | @makeupby_esc
Goblin Mini Sclera Green | @makeupby_esc
Products Used

Goblin Mini Sclera Green | @makeupby_esc
Goblin Mini Sclera Green | @makeupby_esc
Products Used

Phantom White | @seraphinevanhelsing
Phantom White | @seraphinevanhelsing
Products Used

Mesh White | @makeupby_esc
Mesh White | @makeupby_esc

UV Pink | @lepatriinu.art
UV Pink | @lepatriinu.art

Mini Sclera Red | @makeupbynamaisa
Mini Sclera Red | @makeupbynamaisa

UV Pink | @makeupbynamaisa
UV Pink | @makeupbynamaisa

UV Green | @lepatriinu.art
UV Green | @lepatriinu.art

Pixie Pink | @clarissajadehooper
Pixie Pink | @clarissajadehooper

Blind White | @thenickoeffect
Blind White | @thenickoeffect

Blackout Black | @thatautisticmua
Blackout Black | @thatautisticmua
Products Used

Blackout Black | @thatautisticmua
Blackout Black | @thatautisticmua
Products Used

Blind Blue | @seraphinevanhelsing
Blind Blue | @seraphinevanhelsing
Products Used
![Goblin Mini Sclera [Cheshire Cat] | @makeupby_esc](https://static.crazylenses.com/prod/cache/sylius_shop_product_original/sylius/d2/ba/4b1c2730714afe2fed58b8f86699.jpg)
Goblin Mini Sclera [Cheshire Cat] | @makeupby_esc
Goblin Mini Sclera [Cheshire Cat] | @makeupby_esc
Products Used

Blind White | @maddyjmua
Blind White | @maddyjmua

UV Pink | @lepatriinu.art
UV Pink | @lepatriinu.art
Blind White & Zombie White | @irenericomakeup
Blind White & Zombie White | @irenericomakeup

Blind White & Zombie White | @irenericomakeup
Blind White & Zombie White | @irenericomakeup

Blind Red | @emmariley.24
Blind Red | @emmariley.24
Featured Products

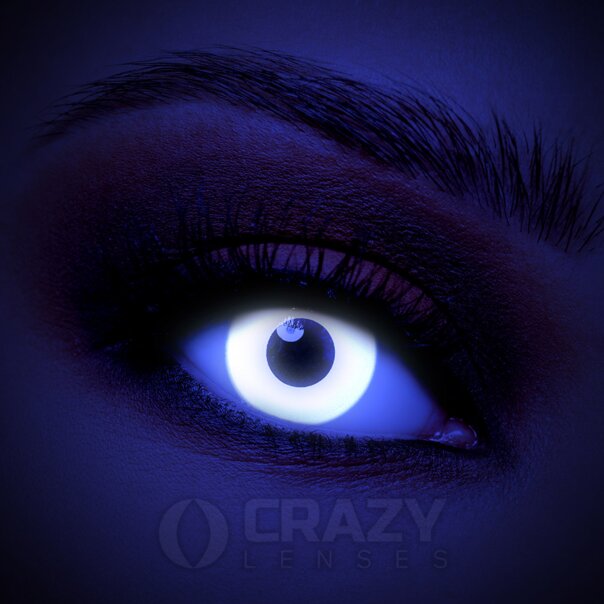


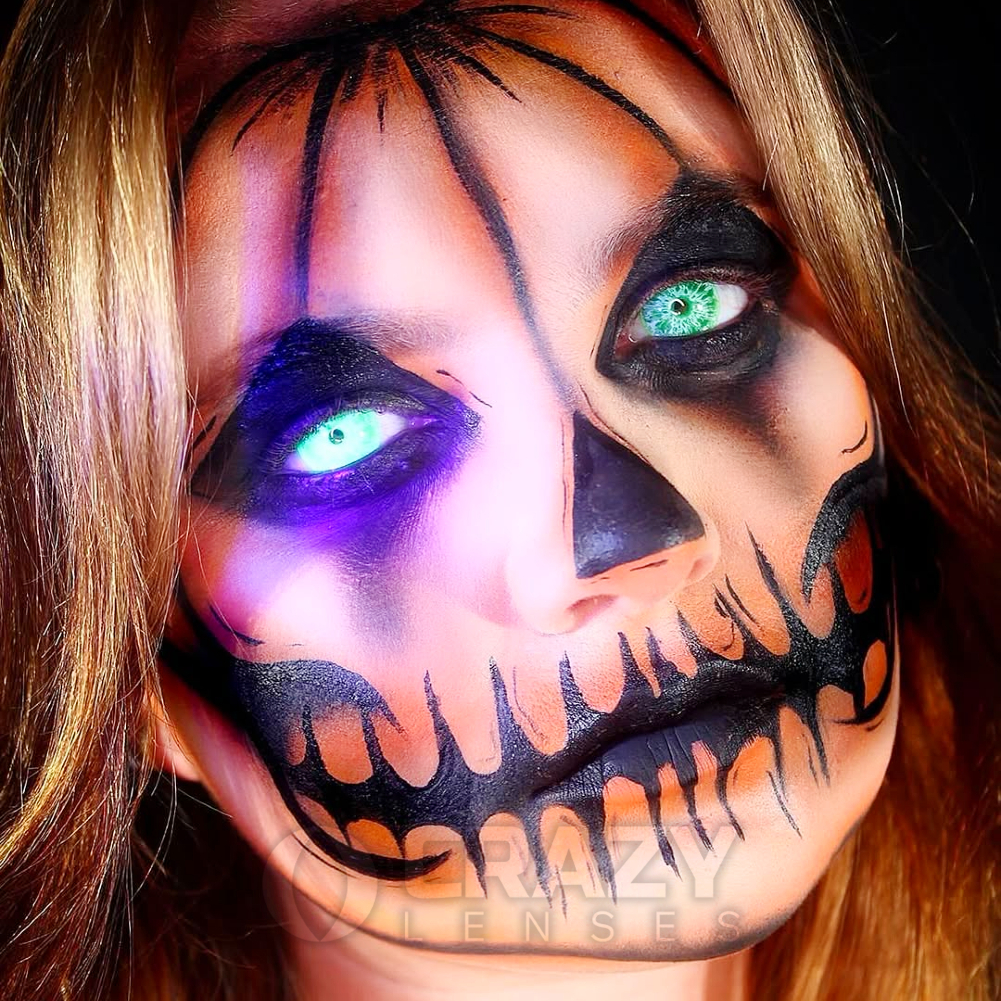
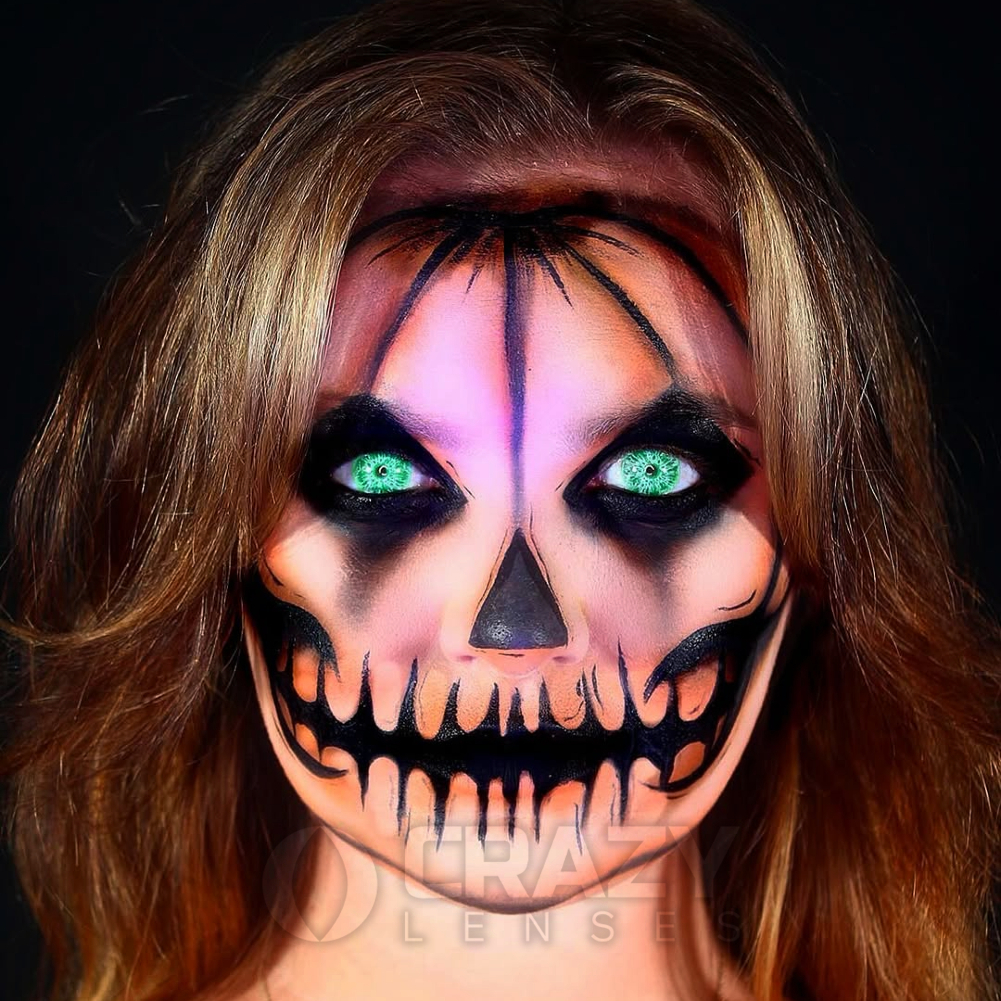
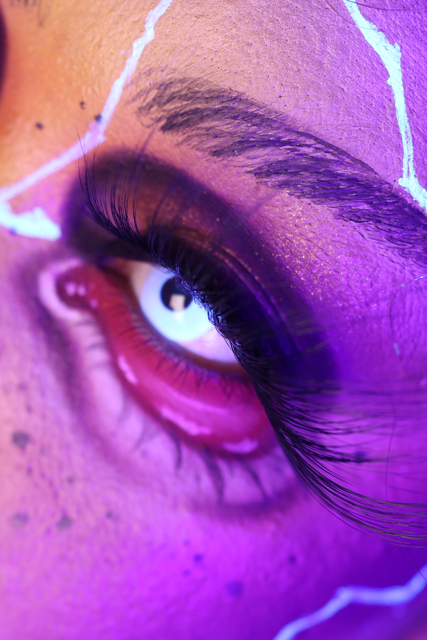
@makeupbynamaisa’s look includes our white UV contact lenses and some UV makeup for an extra, secret level that is revealed under blacklight. We’re obsessed with this extra, spooky touch; check out our range of UV contact lenses now to find the perfect pair for your own scary makeup this Halloween.
Namaisa starts with a light purple base, the perfect shade for a ghoulish yet cute look. She applies the creamy face paint in sections across her face to ensure that it is still blendable and easy to work with as she continues with the rest of the makeup. This is a great tip, especially if you’re not used to the materials you’re working with! We have a range of face paints available in our SFX makeup section - mix the Mehron SFX Color Cup in purple with a white pigment to create the perfect lilac shade when recreating this look. You can then use the paint as normal when contouring!
By using a yellow pigment to highlight the t-zone of her face (an area where the light will naturally catch on the higher points of your face), Namaisa brightens whilst also creating a sickly cast on the skin. This warmer yellow tone also contrasts with the cool lilac base, adding more dimension to the face. Once the yellow pigment has been blended out across the face, Namasia adds a darker shade of purple near the hairline to contour the face. Bring this contouring down to your temples and connect under the brow bone to create a sunken shape. Darkening the area around your eye sockets will add to the haunted and spooky look!
Further darken the area under your brow bone using eye shadow. Namaisa glued down her eyebrows (a makeup technique popular in stage make-up and with drag queens, as it allows you to more easily change the shape of your face) to help widen her eyes, perfect for this zombified doll-look. This means she needs to add more makeup and shadows to bring certain features back to her face; however, it also allows her to bring the makeup higher, starting the shadow application where her eyebrows would typically be and creating an even more sunken-in effect. Select an eye shadow that is a medium shade in comparison to the rest of your look; this may take a bit of planning, but you don’t want to use your darkest or lightest shade just yet.
If you want to avoid glueing down your eyebrows, we recommend applying eye shadow to contour on the natural line of your eye socket; this will likely be just above your eyelid. You can discover the exact line by pressing gently down on the skin above your eyelid until you feel the ridge. By applying the contour where the edge of your eye socket lies, you deepen the natural curves of your face, which will still work great for this makeup look.
Now, find your darkest shade. Namaisa uses a deep purple that suits the darkest shades of her contour across the edge of her forehead. If you decided to forego purple and use a different color for your look, we recommend picking a shade that matches (or is darker) than the contoured areas on the rest of your face.
Using this darker shade, create a curved semi-circle shape that follows from the outer edge of your natural lid and peaks above the highest point near your eyebrow before reconnecting at the inner corner. Top tip: if you’re unsure, trace the line in a lighter color first before going over it with the darker shade. Once again, this can follow the natural lines of your eye sockets. This creates a natural, doe-eyed effect that is perfect for an innocent doll makeup that’s been corrupted by evil forces.
Then, add a bright shimmer to the centre of the lid to contrast with the dark contours and brighten the very centre of the eyes. Some bright glitter across the rest of the eyelid will emphasise the dark contouring around the rest of the upper eye, but be careful to make sure that your lines do not intersect or interact. Keeping a sharp distinction will help create the impression that your entire face shape has changed.
Once the upper eye makeup is done, Namaisa moves onto her nose contour. Namaisa creates a doll-like button nose by applying the same medium shade of eyeshadow that was used to emphasise the sockets to the sides of the nose. Bring this down to under the nose, creating a curved U-shape. Namaisa then uses another, slightly lighter shade to connect the top of the U and form a circle around the tip of the nose. Blend gently to diffuse any harsh lines, particularly on the top and underside of the nose. Leave the centre of the circle, or the very tip of the nose, free of any contour shades.
If, like Namaisa, you left the rest of your face clear when applying your base layer earlier, fill in the second third of your face now, stopping at the hollows of your cheekbones. Apply the rest of your face contour, connecting to the temples. If you really want to achieve a gaunt look, then we recommend leaving off the blush, but Namaisa applies a light layer. This light application brings color to the centre of the cheeks, bridging the gap with the nose contour and filling out the apples of the cheeks in a cherubic, doll-like manner.
Then, it’s time for one of the most eye-catching parts of this look - the raw and sagging undereyes! Using a pigmented red, apply the color in a semicircular shape that curves outwards in the opposite direction to the one above your eye. So, the larger part of the circle should curve over the upper part of your cheek, not near your nose. Near the inner corner of the eye, sharply bring the semicircle up before bringing it back out again, then finish at the inner corner. This should replicate the shape of your inner corner to help create the impression that the flesh is sagging and falling away - scary!
Use a darker pigment to highlight the edges, and use a bright, light color to add highlights, creating a 3D effect and the impression of folds in the skin. Place one of the highlights right at the edge of the red pigment, following the curve of the darker line, and one following the natural fold under your eye. Make sure to keep these lines thin and precise. Using the same pigment as the rest of your contour, now carefully follow the edge of the undereye makeup, leaving a gap. For maximum effect, keep the gap smaller around the ‘new’ inner corner of your eye, and allow it to expand to no more than a centimetre away from the outer edge. Soften the darkness near the centre; however, the deeper the shades near the inner corner and at the outer edge, the more impactful the effect. Don’t be scared to make these edges quite dark for a high-impact look.
Once again using a softer, medium shade, Namaisa adds eyelashes to the newly created lower lash line. We recommend taking your time with this element, as rushing could cause you to mess up the delicate lines.
Namaisa then takes a moment to darken any contour, blush, or other areas of the makeup to her satisfaction. Take this time to look at your own makeup and ensure you’re satisfied. If you think it looks a bit flat, don’t be afraid to go in and darken any sections necessary. Namaisa also chooses to add some freckles to her look; you could do the same, add a few beauty spots, or leave your makeup as it is!
Finish off the base makeup around the lower jaw and on the chin. Once again, Namaisa adds the yellow pigment, this time to the chin to complete the highlight down the centre of the face. As you’ve already applied your contour, think of this as reverse contouring by applying the lighter shade last. Just be careful when you blend so that the dark and light pigments don’t mix to become muddy.
Namaisa applies a gentle wash of pinkish-reddish color to the lips, blending it out for a smudged and natural look. Like Namaisa, you could choose to create a pouty effect by extending and highlighting the edges of your lips with dark pigment. This creates a very rounded lip that resembles a doll’s!
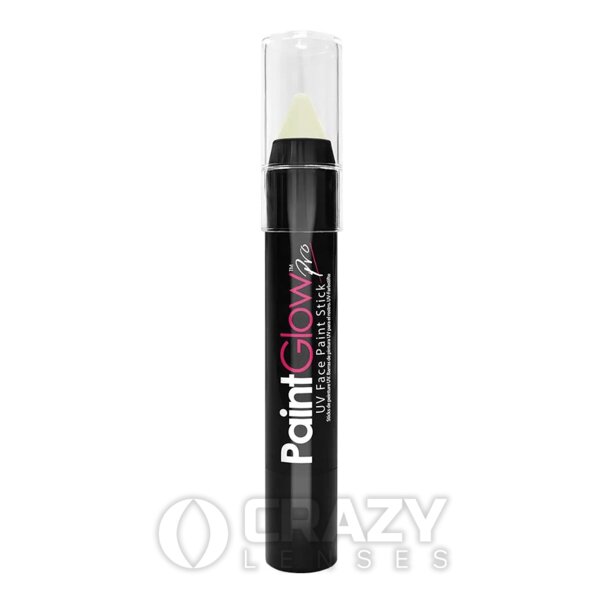
Finally, Namaisa uses the white UV pigment to create a cracked and shattered effect! This pigment is invisible in regular lighting, only activating once the blacklight is turned on. We can’t get enough of this hidden special effects makeup, adding a perfectly horrifying plot twist to the look! The hidden shatter lines that hide under the regular makeup add the perfect spooky twist to this Halloween doll costume look. If you also love this effect, check out our Paintglow UV Clear Glow-In-The-Dark Paint to replicate it!
We can’t wait to follow this tutorial and create a spooky doll makeup look ourselves this Halloween, and we’ve got some more affiliate inspo just below!
@makeupby_esc used a similar concept with a more gory twist to create her undead SFX makeup look. Using liquid latex and fake blood, @makeupby_esc takes on a more realistic technique. False lashes add to the realism of this nightmare fuel look, with White Mesh UV lenses for a dead-eyed stare.

We can’t wait to see your attempts at this look this Halloween! If you do follow this tutorial and feel like sharing your result, tag us @crazylensesnow on Instagram! If you want any more advice on your contact lenses, check out our guides, tutorials and FAQs for all the answers.
Appears In:
Blogs
Blogs
Tutorials
Affiliate Features
Styling Inspiration
Halloween Costume Ideas
Cosplay Ideas