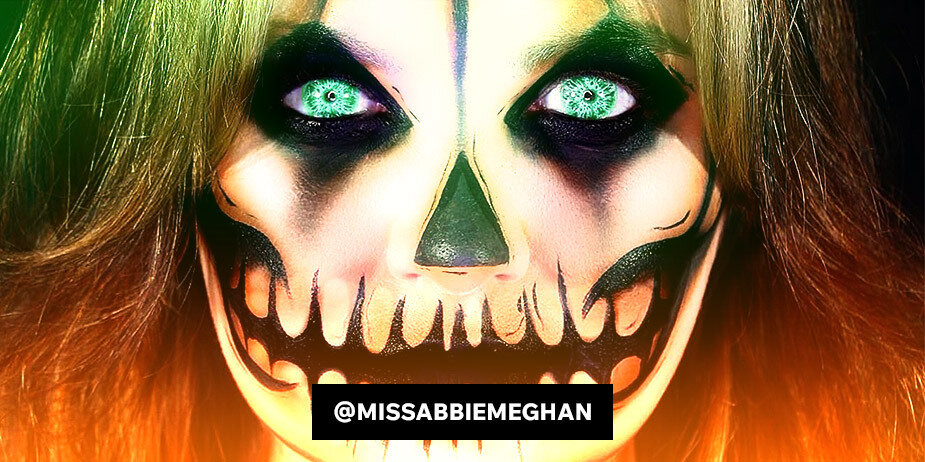
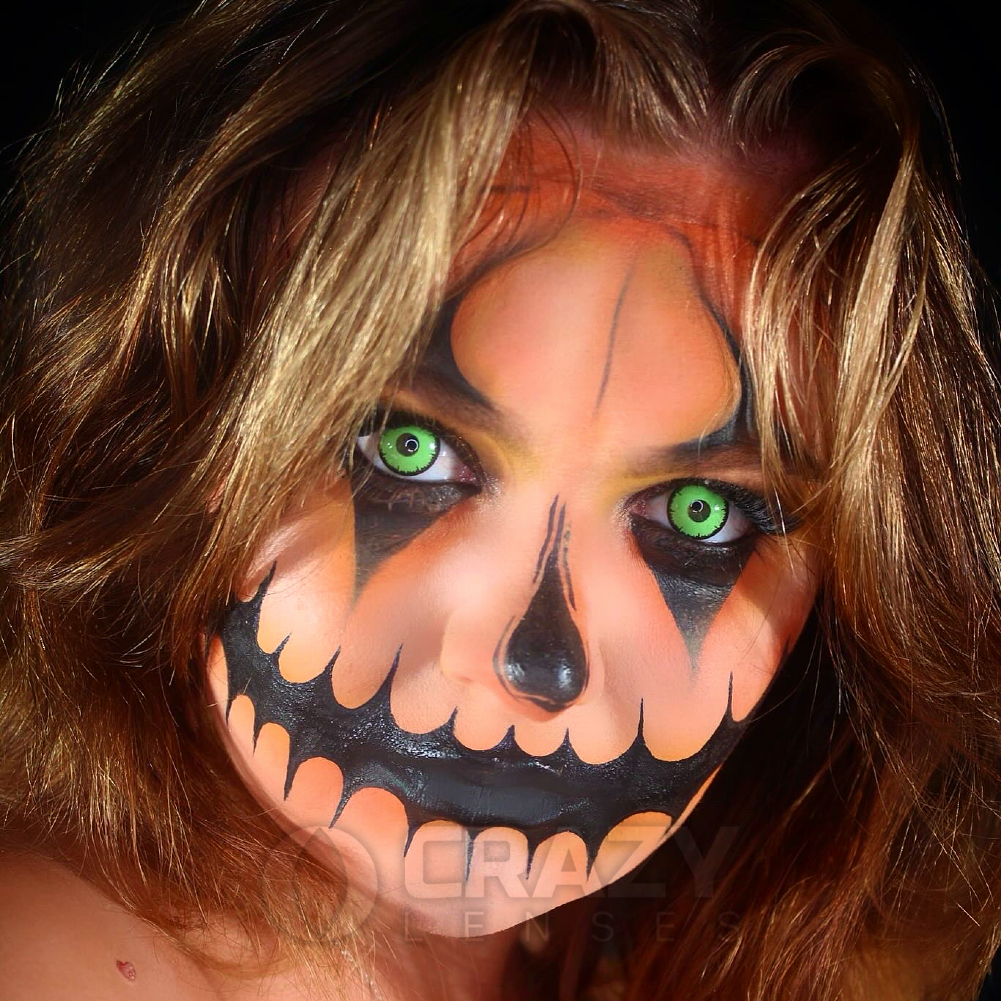
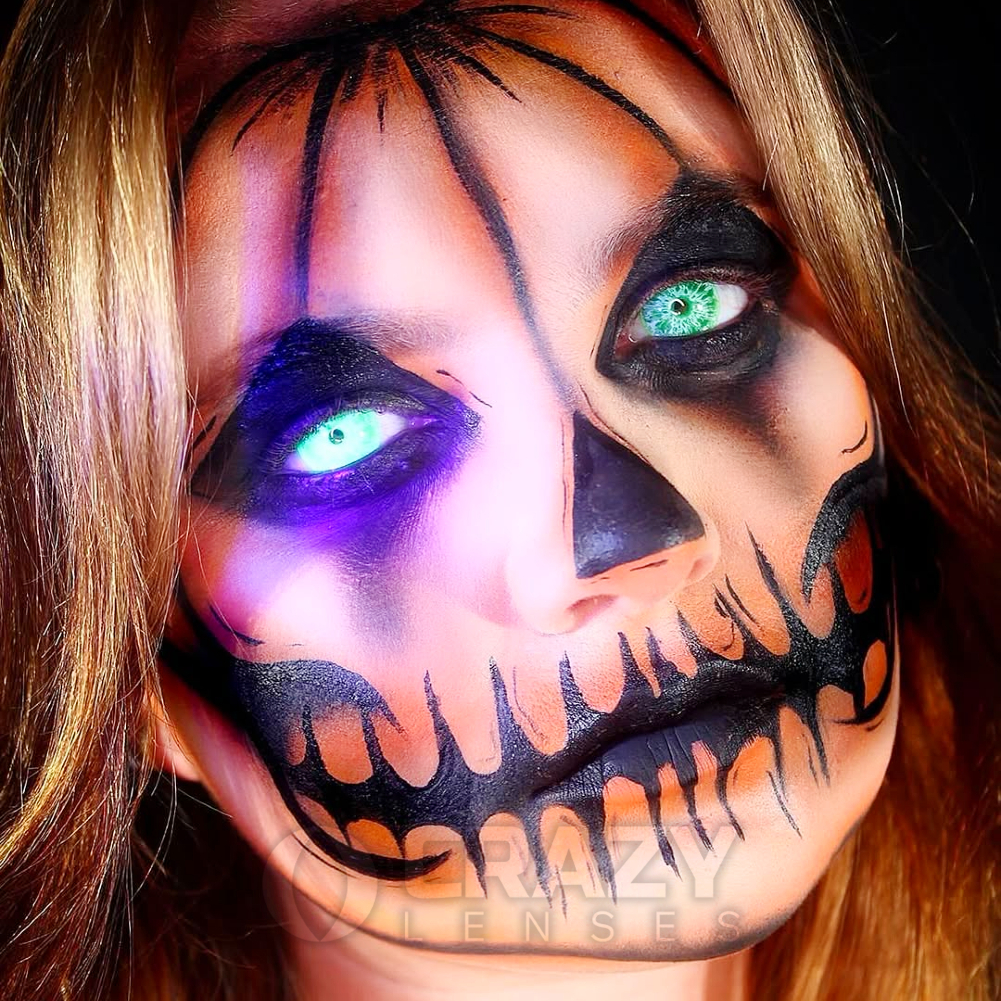
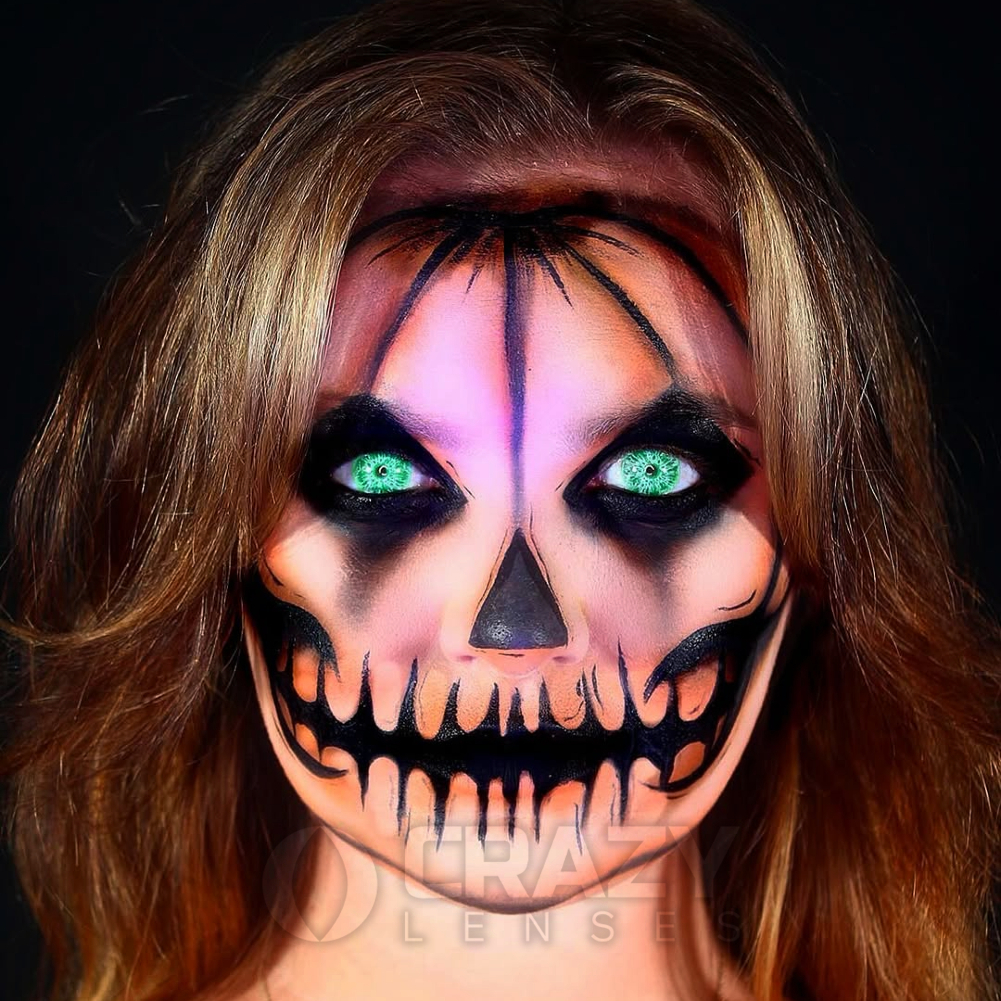
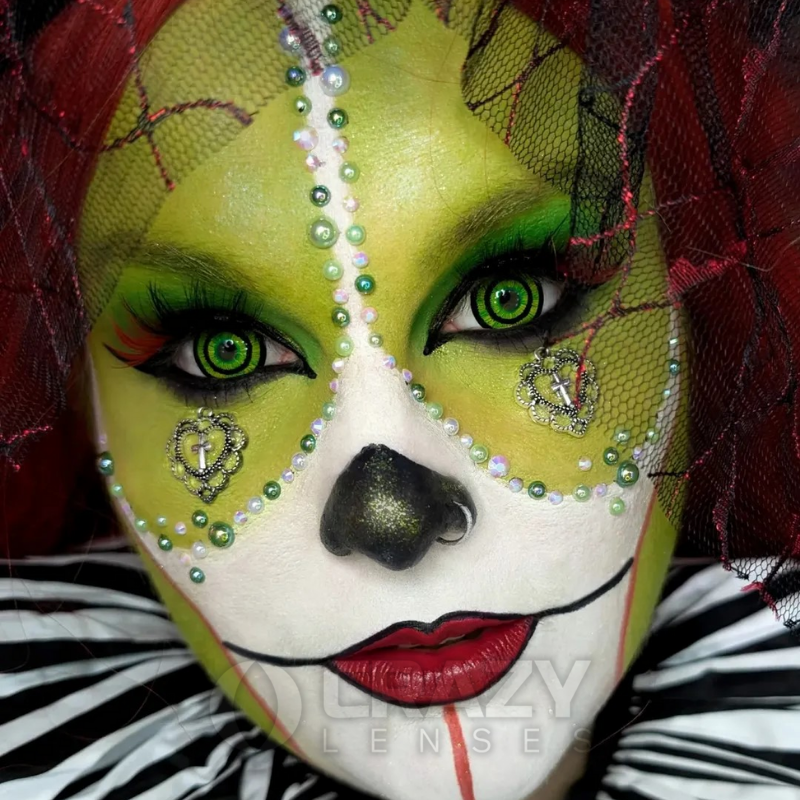
@missabbiemaghan transforms her face from sweet and friendly to a terrifying Halloween spirit in this look! This pumpkin-king skullface makeup look, paired with our super vibrant new UV green contact lenses, is perfect for Halloween.
@missabbiemeghan starts by applying a light layer of regular foundation for her base; this gives a smooth and even canvas to work with, as well as a polished look in the even space. However, if you prefer to wear less makeup, then you may want to skip this step! You could also swap your foundation out for a light BB or CC cream.
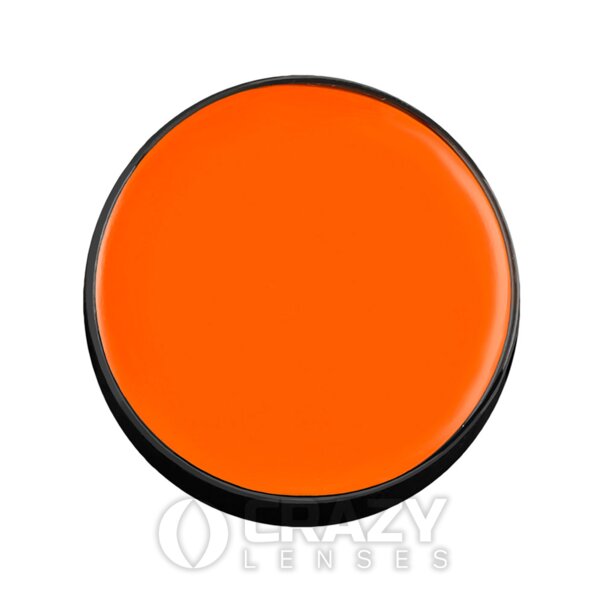
Next, Abbie takes a pigmented orange eye shadow and begins to carve out the shape of the pumpkin! If you have any colorful makeup palettes, then you may already have an orange available; if not, check out our Paintglow face paints! We have UV orange paint available, which could be amazing paired with some UV contact lenses.
To begin the pumpkin skull look, Abbie places the orange pigment in a T-Shape at the top of her forehead, with the centre line of the ‘T’ coming down just above the middle of the eyebrows. Once you reach the edges of your forehead, gently follow the curve down, diffusing the orange further. Abbie keeps her lines fairly central, between the tail of the brow and the hairline, as well as quite light. Keeping the lines central will help achieve a sharp, carved-out look later on once the black is added.
It is best to start out lightly, as you can always add more color later if necessary. Therefore, continue to blend your initial line out and down. Add one more line that connects to the middle of the brow, following the slightly curved lines of the outer lines and the natural curve of your forehead to create a rounded-pumpkin shape.
Still using the orange pigment, contour as you would normally, following the hollow of your cheekbone as the way to the mouth. This line should connect both sides of your face across your upper lip. Add an additional line down the cheek from near the outer corner of your eye to the jawbone. This line should intersect with the contour you’ve already done in the centre of the cheek, and leave a ‘V’ shape around the mouth. This will later become the space for the teeth of the skull.
Add orange to the jawline to complete the orange base of the contour. And trust the process! Although you may not feel like you look like a pumpkin yet (apart from all the orange), the definition will come from the next few steps to create the perfect pumpkin skull makeup.
This can be done roughly, as it doesn’t need to be perfectly precise. Add orange to the tip of the nose, blending up towards the bridge. Also, add an orange shadow all around the eye, blending up to the brow and under the eye. Try to keep this shape rounded, following the natural shape of your eye socket.
Then, you can start adding more definition to the base you’ve laid down. Using a dark brown or black colored eye-shadow, start by going over the orange lines on your forehead. Blend the orange and darker pigment to ensure that the orange color is still visible. Do the same to the lines across your cheeks, jaw, and under your eyes. Don’t be afraid if it still looks a little messy! We’re now moving on to adding the skull, which will tie all of this together.
Using a black liner, once again go over the lines of orange that you’ve just redefined with the darker pigment. Keep these lines as precise as you can, and don’t blend them. Follow the lines down the forehead, and create a small area where they all connect that is fully black. Add some short, fine lines; this creates the top of the pumpkin. Create a fairly wide black triangle on the top of your nose to create the impression of the nasal cavity of the skull.
Also add the black to your cheekbones, with a thicker line following the typical line of your contour. Blend the top near your hairline up your temple. Where the lines intersect, use the black to create a more well-defined, rounded shape. Add shading in the curve, making the ‘V’ shape more of a ‘C’. Keep the shading to the upper portion of the ‘C’ to create a ‘hollow look’.
Add the black liner to the lips, with evenly spaced lines extending up and down the lips to create the teeth. Once you get to the edge of the lip, extend the line in a joker-like smile to the centre of the ‘C’ shape you just made on the cheek. Then, continue to add the lines branching off evenly to create the skull’s signature grin.
Finally, add black triangles extending above and below the eye to give the impression of a carved-out centre, similar to the way a pumpkin's eyes would look! You could add your own twist here, creating a different eye shape depending on the way you’d typically carve eyes into a pumpkin.
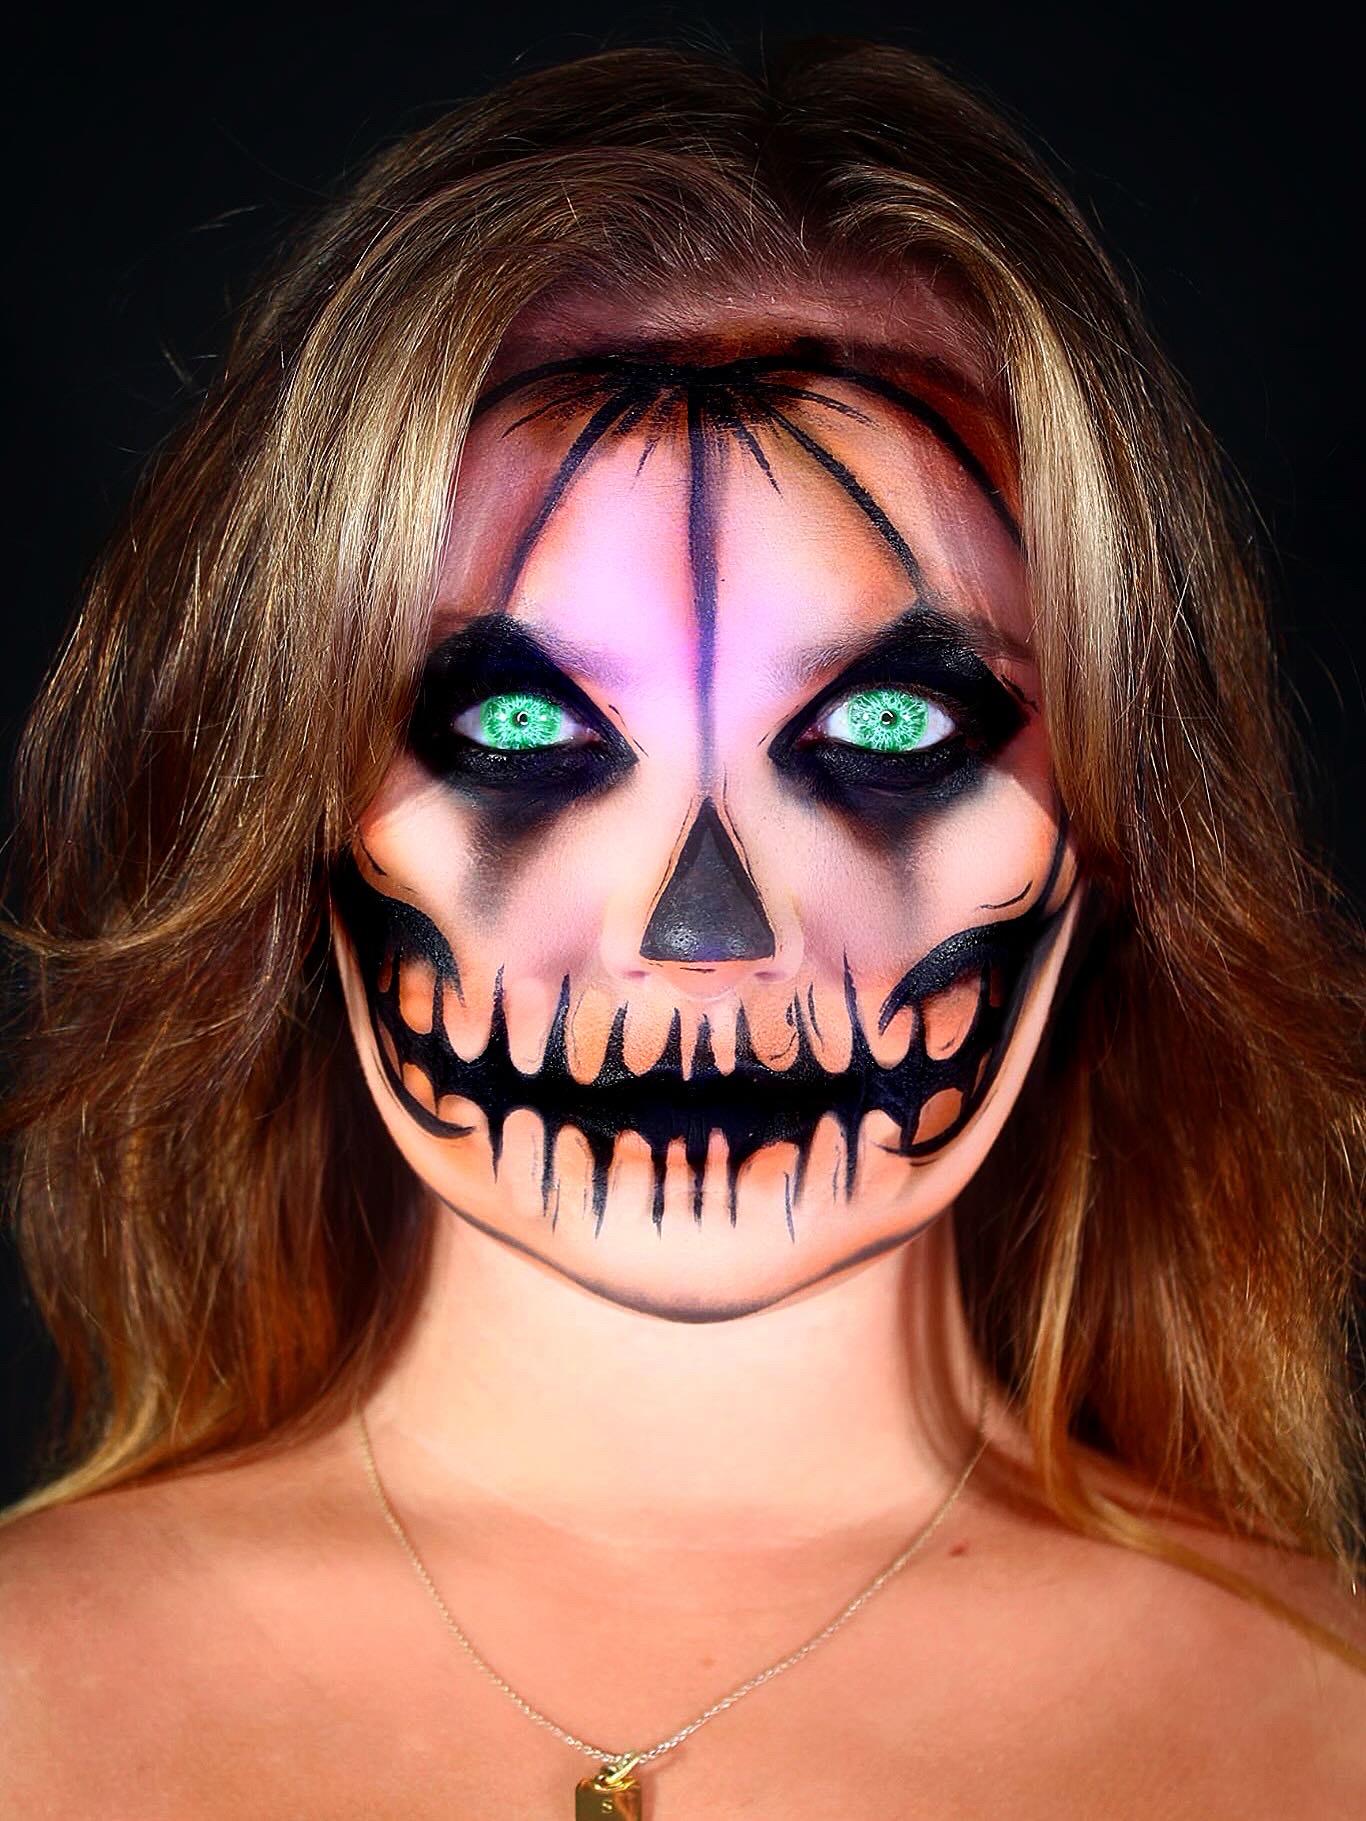
Finish off the look with your choice of contact lenses, and you’re done! You’ve successfully created a spooky pumpkin-themed Halloween makeup look! This pumpkin skull makeup is enough of a stand-out on its own, never mind when paired with some glowing UV contacts like @missabbiemeghan does. Abbie uses our brand new UV Green I-Glow Contact Lenses, which are super bright and vibrant even before the UV light is turned on! The white marbled pattern of these lenses catches your attention, even in regular lighting, and has an intense appearance. The bright glow of these lenses is perfect for a Halloween costume!
This detailed and scary skull makeup is great if you want to put a low amount of effort into your clothing this Halloween. Wear plain black, or a mix of black and orange to complement the pumpkin color, and call it a day!
If you try this tutorial out, tag us in the results @crazylensesnow on Instagram! We would love to see how you recreate this amazing look from @missabbiemeghan. Halloween is our favorite time of year, and we love to discover new costumes!
However, if you’re looking for a slightly easier option, then don’t worry; @missabbiemeghan has got you covered.
This second pumpkin-inspired look is still super spooky, but less detailed than the first pumpkin-skull makeup. With fewer fine lines and no intersecting sections, this is far less complicated.
Similarly to the first look, add orange to the top of the forehead, around your eyes, on your nose, and following the hollows of your cheekbones to around your mouth, once again joining the two sides of your face.
Then, using black liner, create two imperfect triangles above and below the eyes. The top triangles curve inward slightly, starting on the brow and tapering off at the top into a thin line, approximately representing the curves of a pumpkin. Once again, add black to the top of the nose for the hole.
Then, rather than create a complicated jaw pattern of the teeth across the mouth and cheeks, create a thick black line. This black should completely cover the mouth, and roughly stay that wide as it follows the orange in the hollows of your cheeks. Add some smaller lines branching off from the main part to create jagged teeth; as this look is more inspired by a carved pumpkin, you don’t have to worry about these lines being as perfectly accurate or symmetrical, ideal for a beginner!
And it’s done! @missabbiemeghan adds some additional, thin, black lines for extra definition around the forehead and nose, which you can do as well if you choose. Also, feel free to go over any areas you feel are too light or not pigmented enough with your orange paint or shadow.
In this look, Abbie uses the Angelic Green Costume Contact Lenses, a super bright pair of green contact lenses. Green lenses are perfect for a pumpkin-themed costume, as they complement the orange and are reminiscent of the stem, but we also have Pumpkin Contact Lenses Jack ‘O’ Lantern available, the perfect shade of orange!
If you have any questions about contact lenses, check out our guides and tutorials.
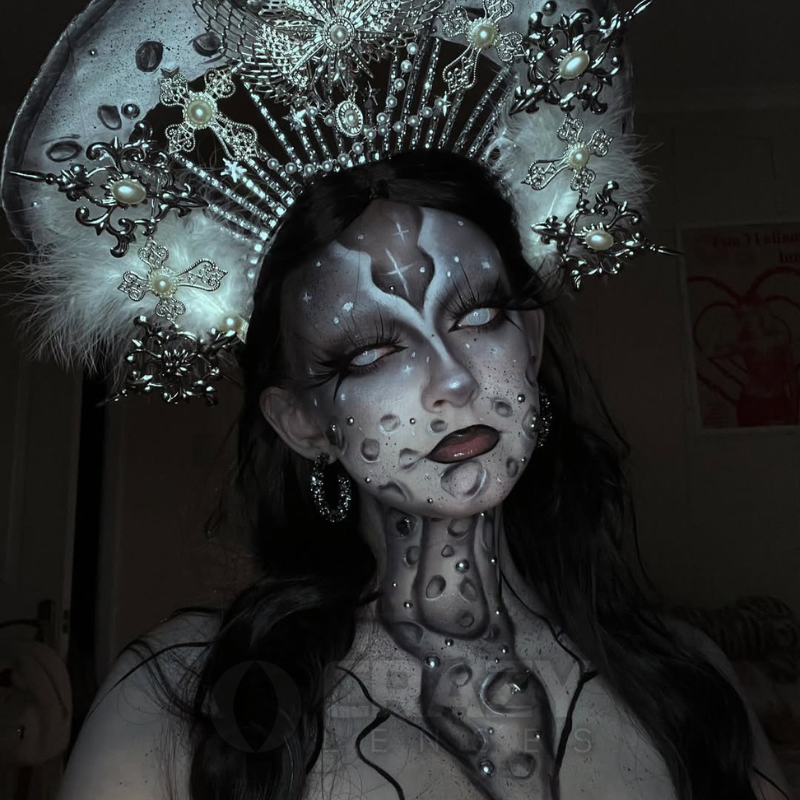
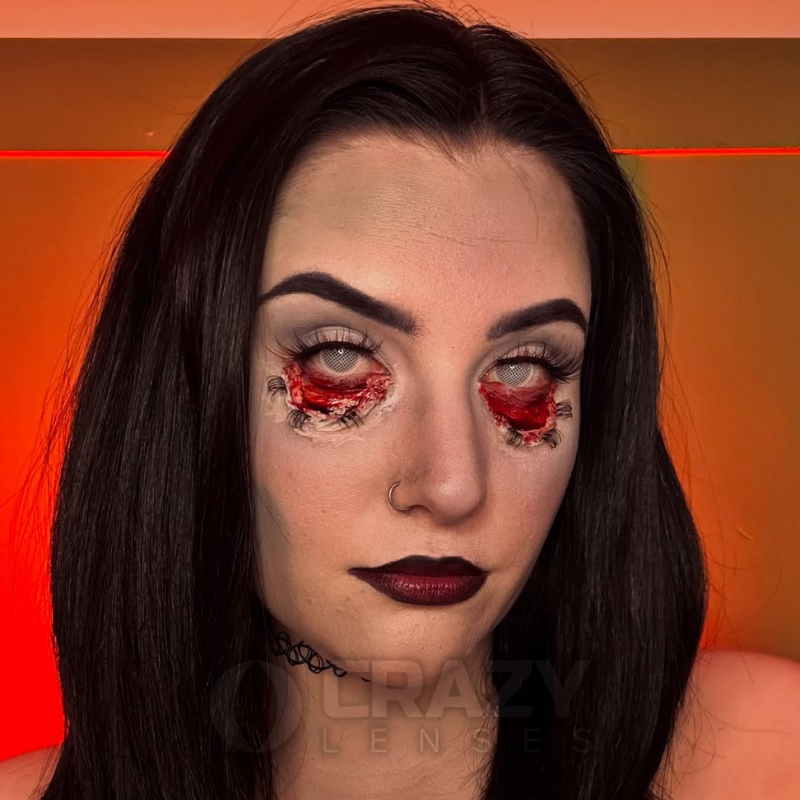
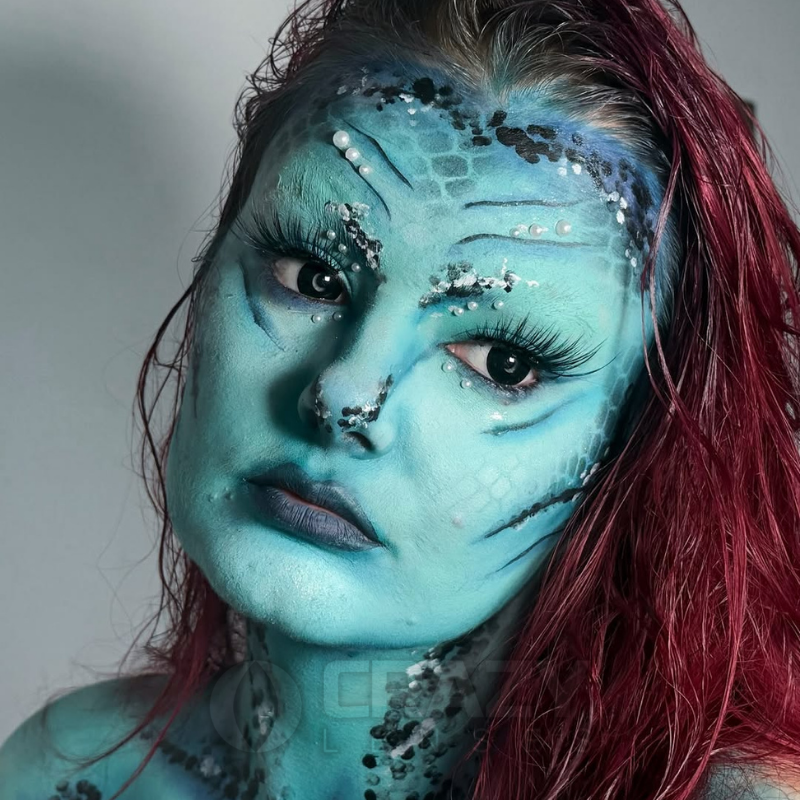
And if you’re looking for more Halloween costume inspiration, we’ve got plenty. With our talented affiliates supplying multiple looks for Halloween, there are lots to get inspired by! Read through our other Halloween makeup tutorial for a spooky doll makeup, or check out our alien-themed blog for a unique but beautiful Halloween look that will blow everyone else away.


![Mini Sclera Red [Silence of the Lambs] | @makeupby_esc](https://static.crazylenses.com/prod/cache/sylius_shop_product_original/sylius/b2/5a/a02f396c95027c16493d137355ec.png)
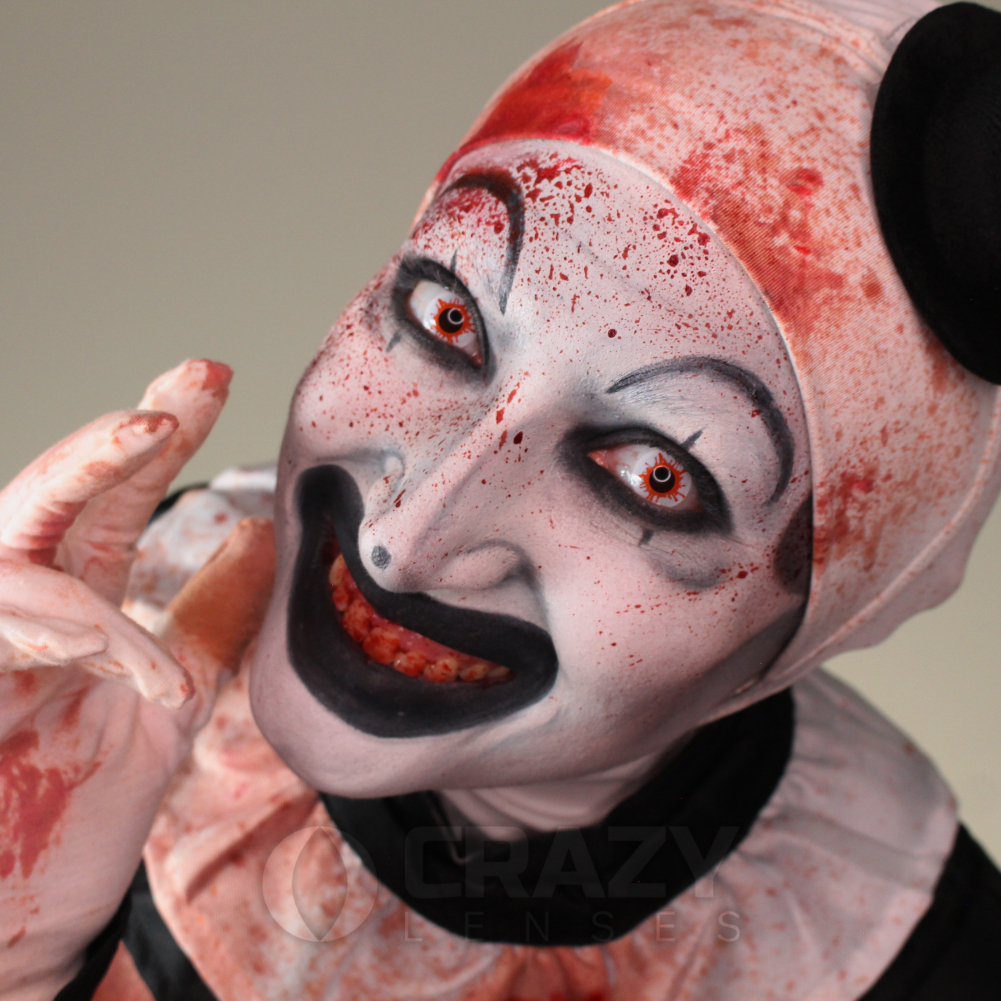
![Mini Sclera Red [Ronald McDonald] | @missabbiemeghan](https://static.crazylenses.com/prod/cache/sylius_shop_product_original/sylius/72/09/1470e3e654e7756c458bb4e66c7e.png)
![Zombie White [Jack Skellington] | @emilymartistry](https://static.crazylenses.com/prod/cache/sylius_shop_product_original/sylius/01/82/ffd57c3ef0876a09ac729de01493.png)


![Mystic Blue [Sarah Sanderson] | @saratigo](https://static.crazylenses.com/prod/cache/sylius_shop_product_original/sylius/ab/b0/e2c40eaa5f1248241b1877779ee1.png)
![Blackout Black [Mary Sanderson] | @saratigo](https://static.crazylenses.com/prod/cache/sylius_shop_product_original/sylius/04/0b/fd5f717811adadd8687f121d04ee.png)
![Twilight Volturi Red [Winnie Sanderson] | @saratigo](https://static.crazylenses.com/prod/cache/sylius_shop_product_original/sylius/f3/a7/9bd6446389b012ad36e87af36b53.png)


![Hulk Green [She-hulk] | @makeupby_esc](https://static.crazylenses.com/prod/cache/sylius_shop_product_original/sylius/47/2b/dcc3e96b254c17a955423064782c.png)